
Zoho Docs

Zoho Docs is a free online application that allows you to create and edit documents on the web without the need of any word processing software. Zoho Docs integration appears in LogicalDOC as an entry in the Tools menu. From the submenu, you can choose to edit text documents, calculation sheets, and presentations, or import and export documents between LogicalDOC and Zoho.

The first time you want to use Zoho from within LogicalDOC, you have to properly configure the Zoho API in your Zoho account, please read the guide Configuring Zoho API

Authorize

First thing you have to do if want to start working with Zoho is to authorize LogicalDOC in Tools > Zoho > Authorize

In the form put your credentials and click Authorize.

Edit a Document

Select the document you wish to edit, and choose Edit document (Tools > Zoho > Edit document). A new popup window appears.

You have to click in the provided link to open the Zoho editor in another tab, once you have finished your editing, just come here again and click Checkin to confirm your modifications. While you are editing a file in Zoho, the document is locked.

Import from Zoho

Click on Import from Zoho (Tools > Zoho > Import from Zoho). Using the browser select the files folders you wish to import, then click Select.

Export to Zoho

Select the documents you wish to export. Click on Export to Zoho  (Tools > Zoho > Export to Zoho).

Configuring Zoho API

1. Log into your Zoho API Console at https://api-console.zoho.com

API Console

2. Add a new client of type Server-based Applications

The client represents your LogicalDOC application so in the Authorized Redirect URIs put the URL of your LogicalDOC followed by /zoho/oauth2callback

Client Details

2. Get your Client Secret

Client Secret

4. Go back to LogicalDOC and enter the Credentials

Open the menu Tools > Zoho > Authorize and paste your Client ID and Client secret

Then press on Authorize and you’re done.

Text Editor

A plain text editor is embedded in the application so you can edit and create text files without having to leave LogicalDOC. The text editor is available in the menu Tools > Text content.

Edit an existing file

Select the text file you wish to edit, and choose Tools > Text content > Edit document.

The document will be checked out and opened in the editor so you can modify it's contents.

Click on Save to confirm your modifications and check in the file back in LogicalDOC.

Create a new text file

Select Tools > Text content > Create document.

Put a name and click on Create, the new file will be immediately available for editing in the text editor.

Configuring DocuSign API access

1. Visit the DocuSign administration

To allow LogicalDOC to have access to your DocuSign account you have to prepare an integration key first, so enter your DocuSign administration an click on the API and Keys link in the INTEGRATIONS menu.

Report Parameter

This will lead you to your account informations:

Report Parameter

2. Add the LogicalDOC APP

Click on the button ADD APP / INTEGRATION KEY

Report Parameter

Use LogicalDOC as App Name.

Report Parameter

Authentication

Make sure to choose the Authorization Code Grant authentication method-

Add a secret key and save it somewhere, you will need it later.

Callback URL


In the Additional Settings add the callback URL that DocuSign will use to communicate with LogicalDOC, here you have to use the first part of the URL you normally use to access LogicalDOC but append docusign-callback. If you access LogicalDOC with https://your_logicaldoc_hostname then the callback URL must be https://your_logicaldoc_hostname/docusign-callback

3. Go back to LogicalDOC, and enter the informations

Open the menu Tools > DocuSign > Authorize  and paste the informations from your DocuSign account.

Report Parameter

Then press on Authorize and you’re done.


DocuSign

DocuSign allows organizations to manage electronic agreements and offers eSignature, a way to sign electronically on different devices. Signatures processed by DocuSign are compliant with the US ESIGN Act and the European Union's eIDAS regulation, including EU Advanced and EU Qualified Signatures.

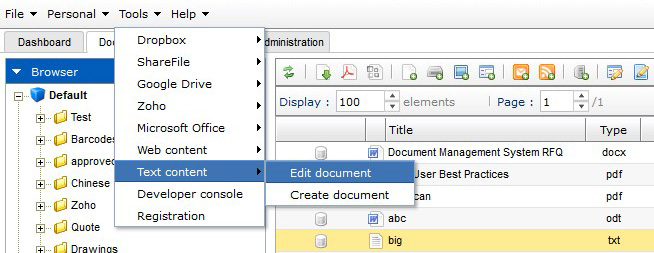
DocuSign integration appears in LogicalDOC as an entry in the Tools menu when whatever folder is selected.

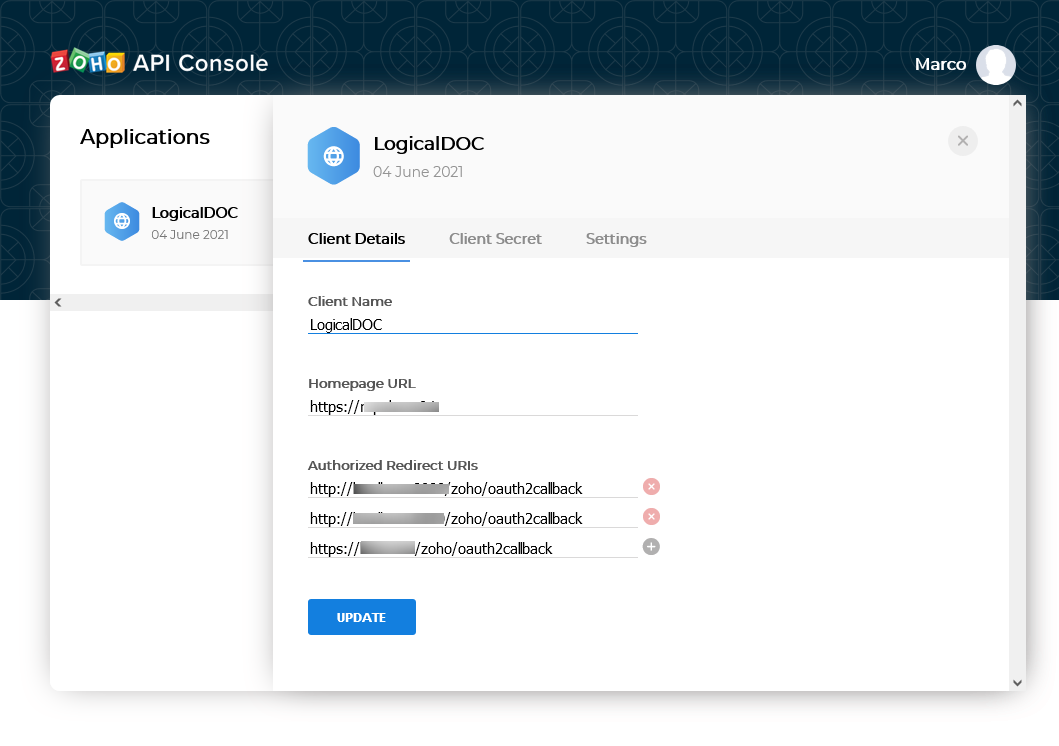
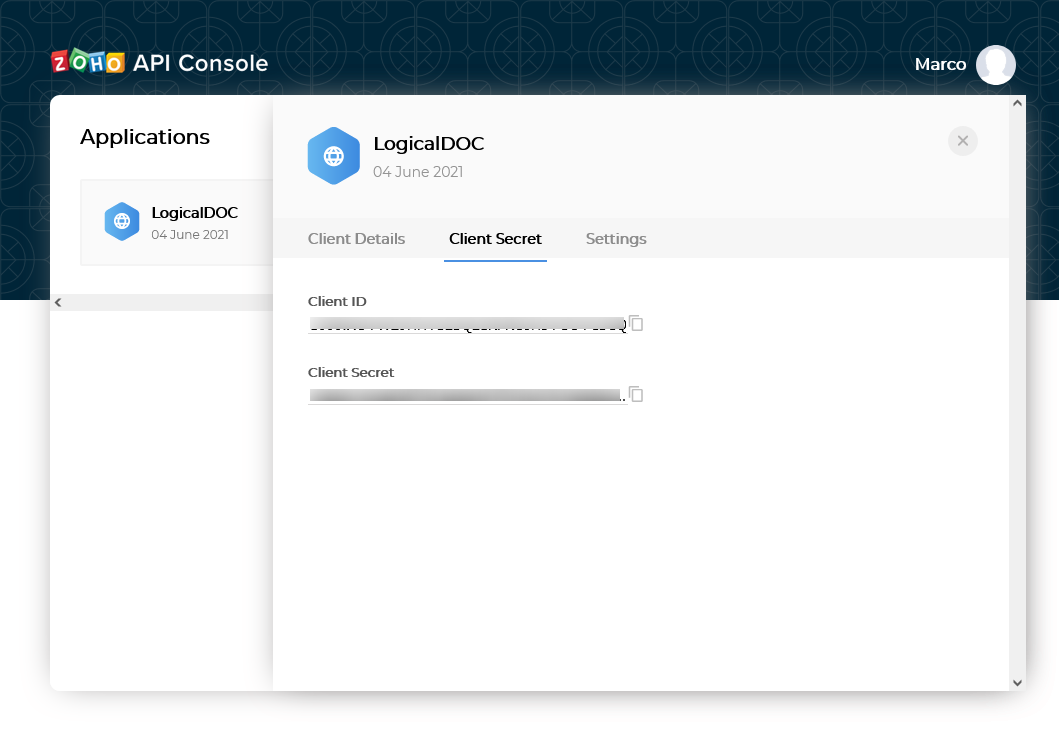
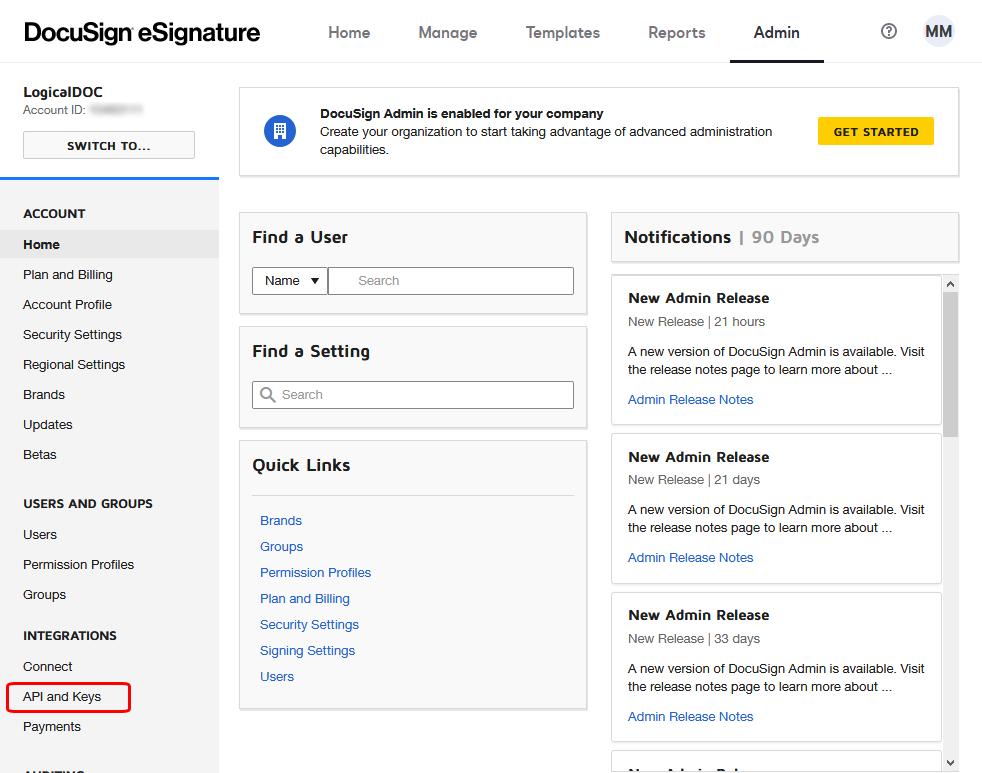
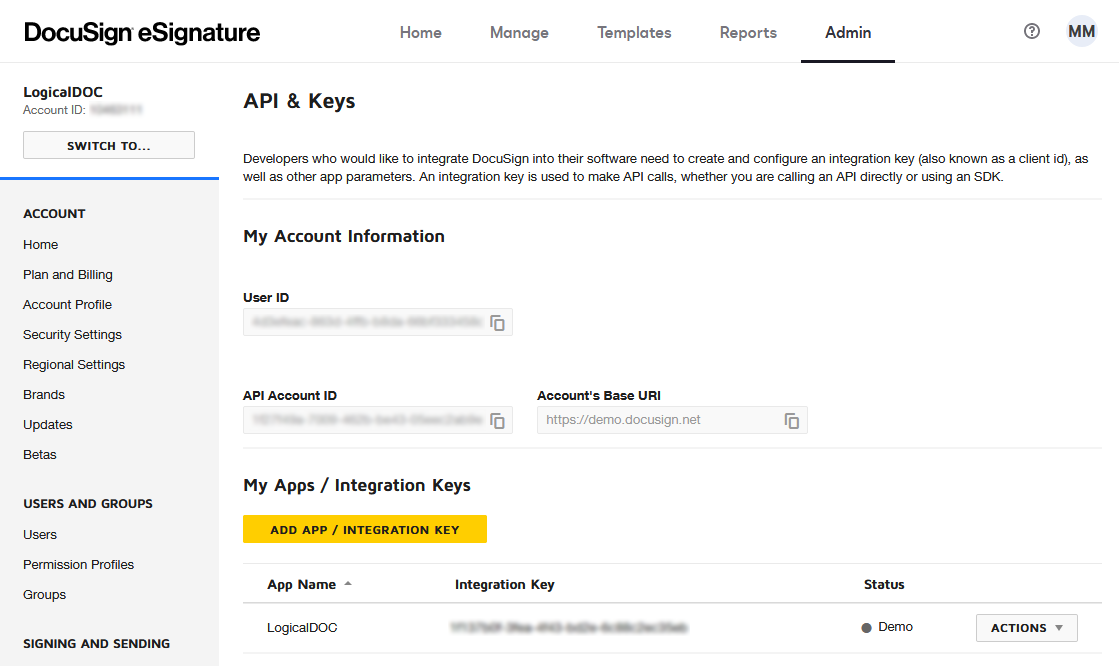
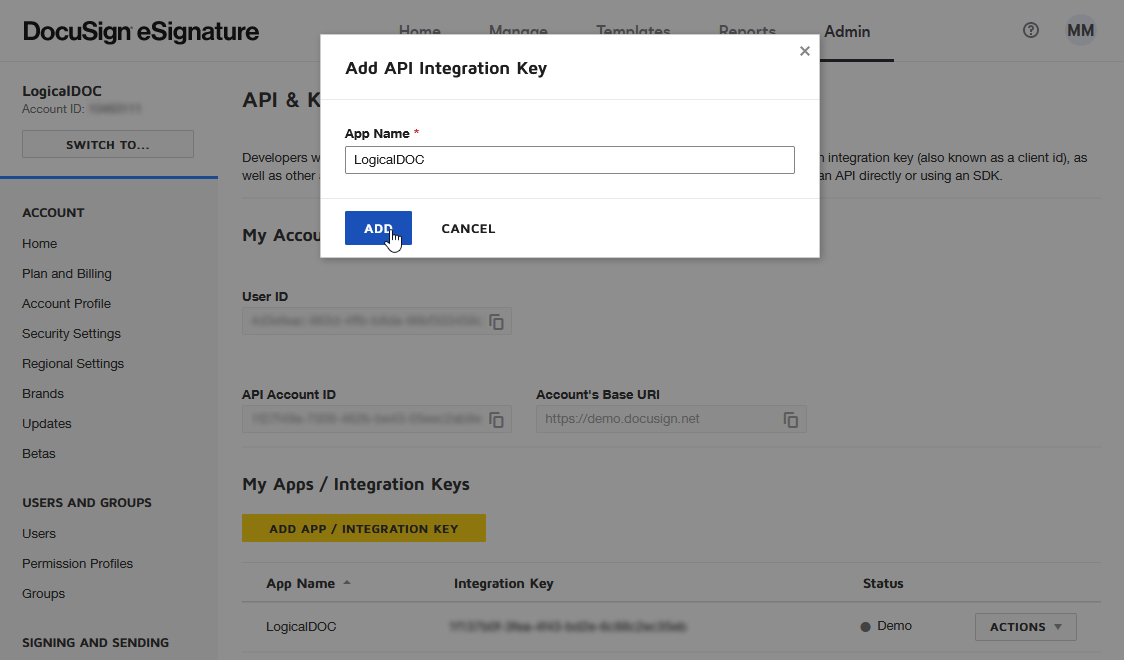
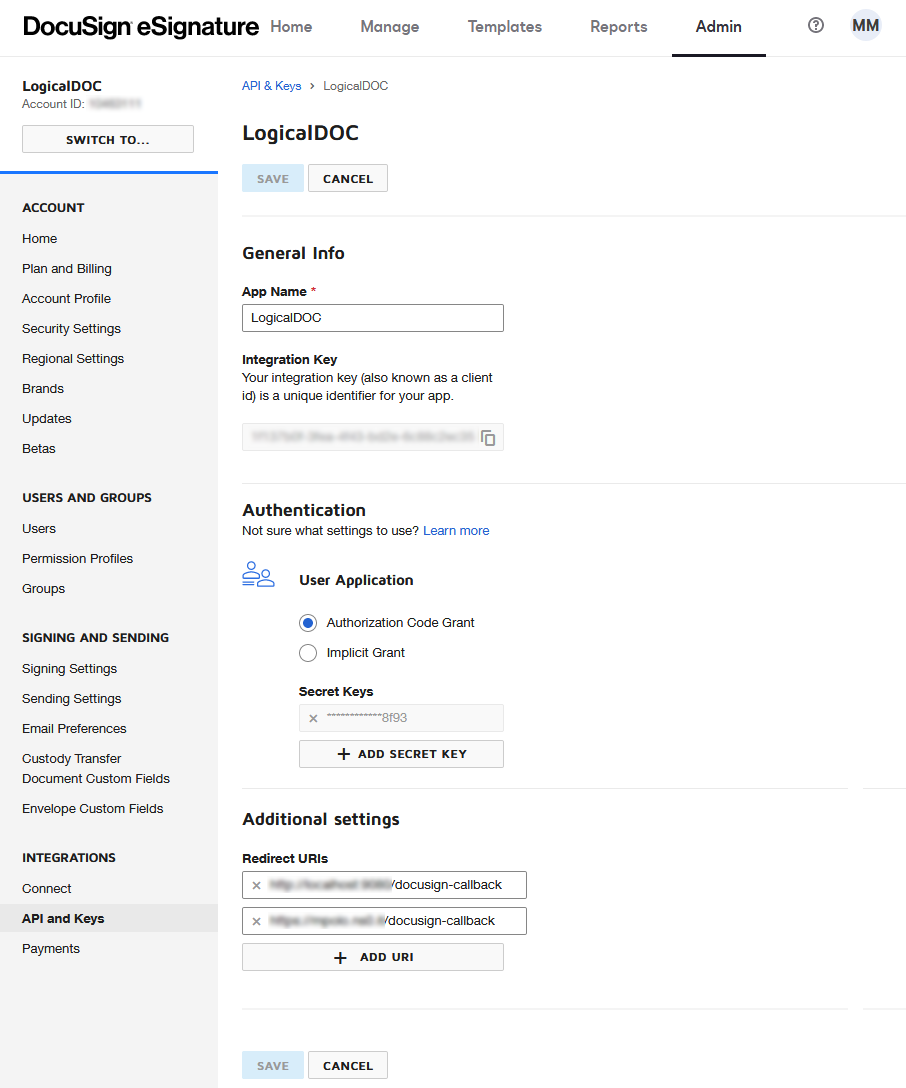
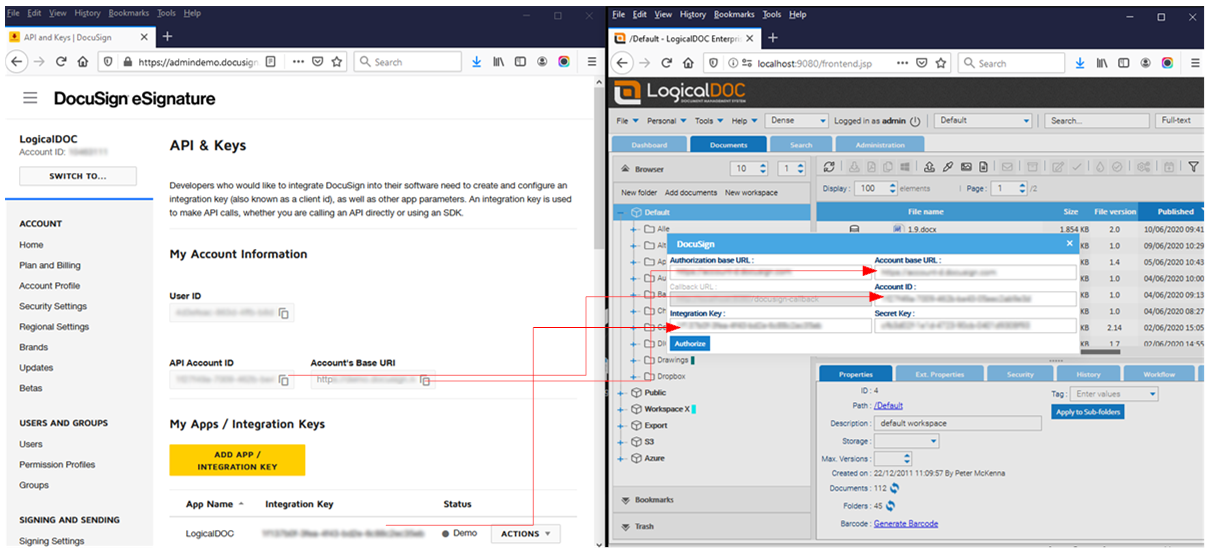
The first time you want to use DocuSign from within LogicalDOC, you have to properly configure the DocuSign API in your account and authorize LogicaDOC, please read the guide Configuring DocuSign API access
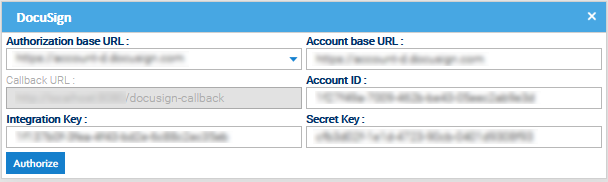
Authorize

Anytime you want to start working with DocuSign, remember to open the menu Tools > DocuSign > Authorize

Send an envelope

Each time you want to sign an agreement, you have to include it in an envelope. This is the way DocuSign works and an envelope can include one or more files.

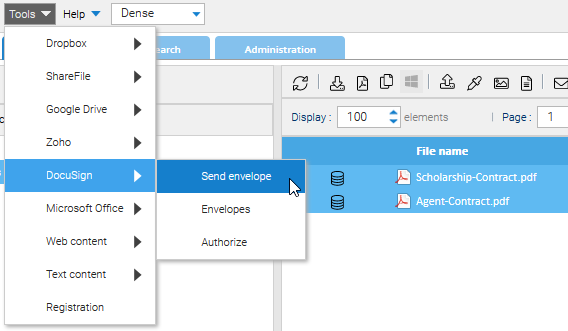
So select the files you want to share with the signers and click on Tools > DocuSign > Send envelope

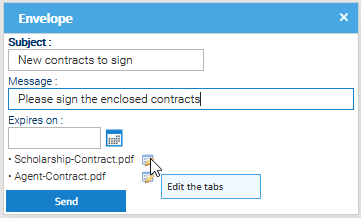
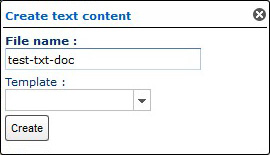
In the dialog box put the Subject that will be used in the notification email and optionally a brief Message.

Prepare the tabs

Before being able to send the envelope, you need to prepare each document inserting what DocuSign calls Tabs. A tab is a place where a specific information has to be filled. You may have tabs of different type but the most important one is the Sign Here that collects the signature. In LogicalDOC a tab is modeled with an annotation of a special type.

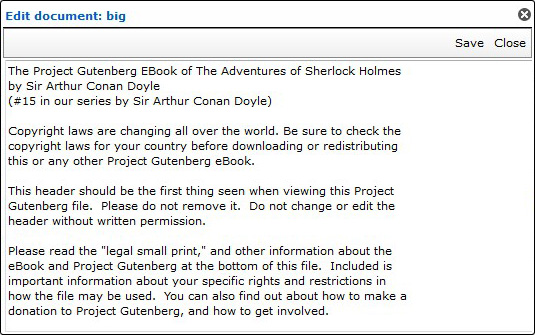
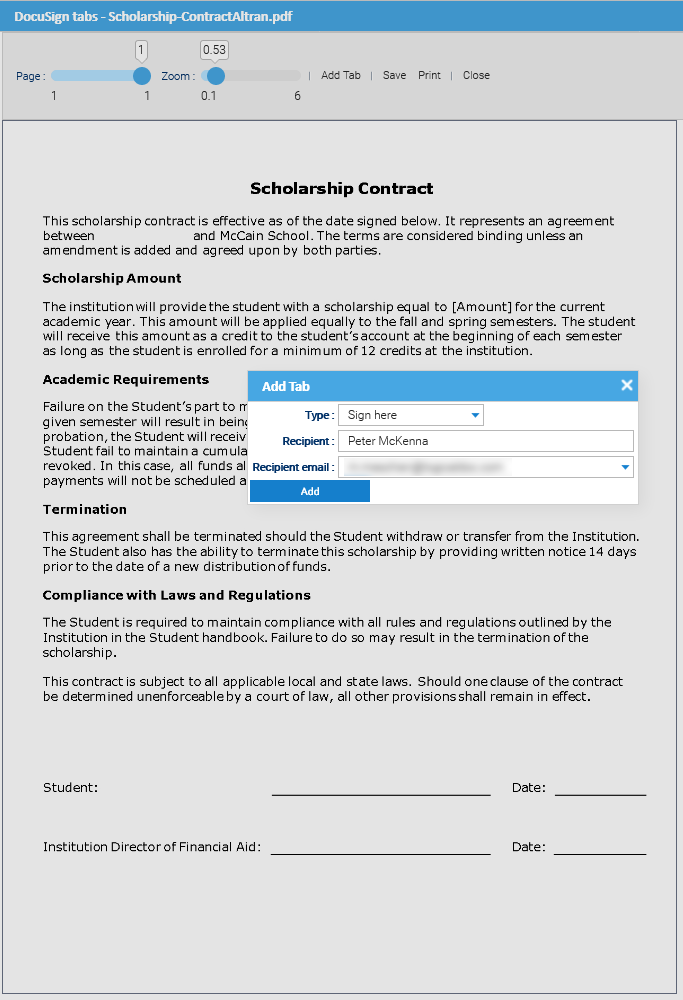
In order to prepare the documents, click on the Edit the tabs icons.

Document preparation
 

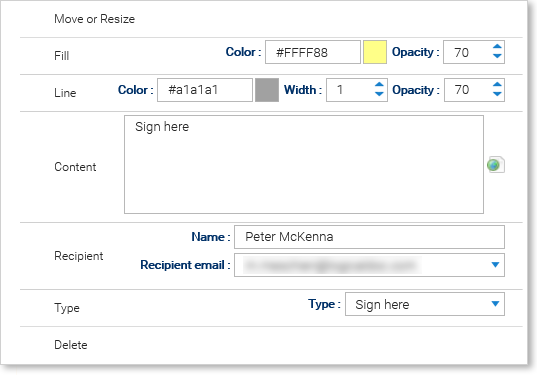
You click on Add Tab to put another tab in the document and then you position it to the right place. It is very similar to putting annotations but here for every annotation you can specify the name and e-mail address of the signer.

You can then move and modify already existing tabs by right clicking over them.

Once you completed the positioning of your tabs, click on Save and then on Close.

Revise and send

Once all your files has been prepared and you placed all the needed tabs, click on Send button of the envelope's dialog box.

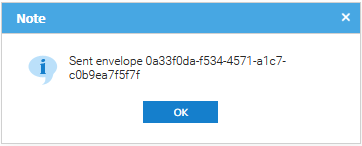
The envelope with all the enclosed agreements has been sent to DocuSign and the unique identifier is returned to you. All the signers will be notified by DocuSign and invited to sign the agreements. Please note that now your files in LogicalDOC are marked as checked out.

Callback from DocuSign

When all the agreements are signed by the signers, DocuSign closes the envelope and notifies LogicalDOC. When this happen, your files will be updated with their signer counterpart.

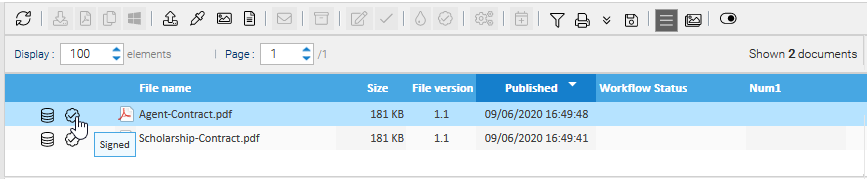
Click on the Signed icon to download the signed agreement

Document preparation

Direct Callback and Polling

DocuSign will be able to communicate with LogicalDOC directly only if you configure it to work with the HTTPS protocol and only if LogicalDOC is accessible over the Internet.

In any case the scheduled task Docusign Poller will try to periodically connect with your DocuSign account searching for closed envelopes to update the documents repository.
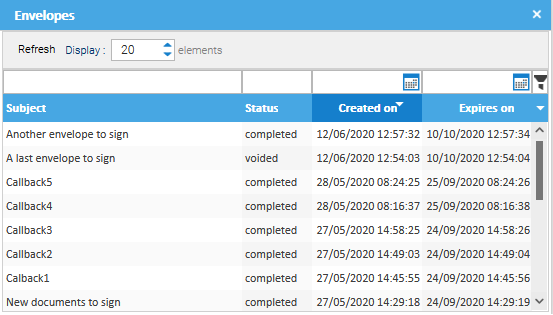
List envelopes

You can access the list of current and past envelopes associated with your DocuSign account by entering the menu Tools > DocuSign > Envelopes.