Configure SAML with JumpCloud
Before you begin
Before you begin, you need to generate encryption certificates for encrypting the SAML connection and load them in LogicalDOC
- You can use the Bash script from the logicaldoc/scripts repository on GitHub, or any other suitable method.
- Save the two files that are generated. They are the private key and the public key. In the SAML settings panel, they are referred to as the SP Private Key and the SP Certificate respectively.
Prepare LogicalDOC
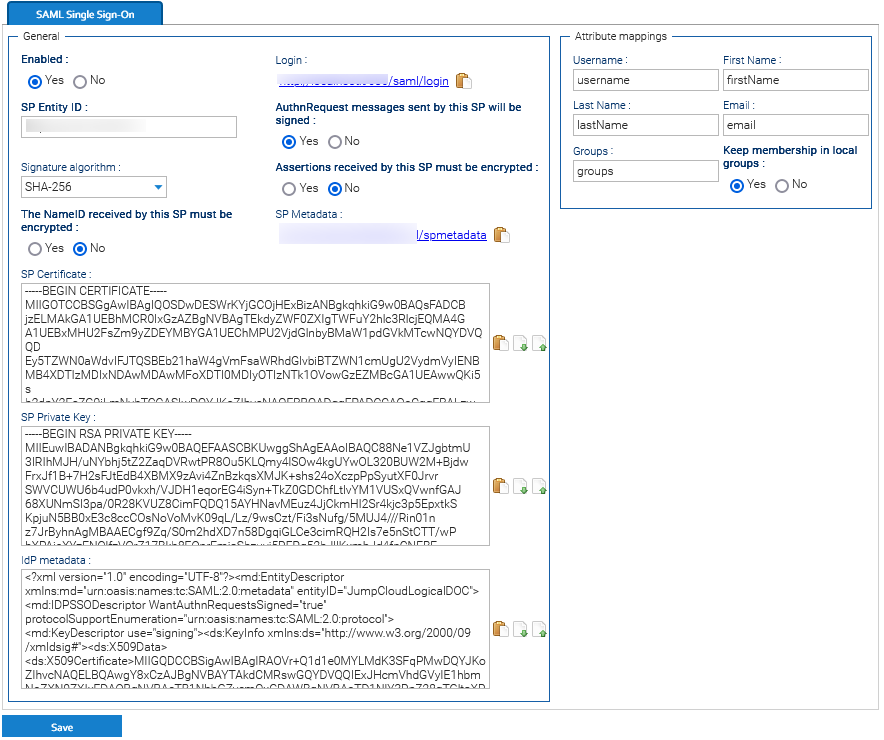
- Enable the SAML Single-sign-on in Administration > Security > SAML Single-sign-on
- In the SP Entity ID field put a unique identifier (you may put here the same URL you normally use to connect to LogicalDOC, e.g. http://localhost:8080)
- Enable both the signature of the AuthRequest messages and the encryption of received assertions
- Choose SHA-256 as Signature algorithm
- Upload the SP Certificate and SP Private Key generated at point 2 in the correspondent fields.
- In the Attribute mappings form, prepare the following mappings:
- In Username, type username
- In First Name, type firstName
- In Last Name, type lastName
- In Email, type email
- In Groups, type groups
Click on Save to confirm all the configuration.
-
Export the Service Provider metadata file by clicking on the URL displayed in the SP Metadata field. You will then use this file in JumpCloud later.
Now you completed the LogicalDOC's configuration and can approach the setup of JumpCloud,
Set Up an SSO Application for LogicalDOC Single Sign-On
-
Log in to JumpCloud as an administrator.
-
Go to SSO Applications > Add New Application.
-
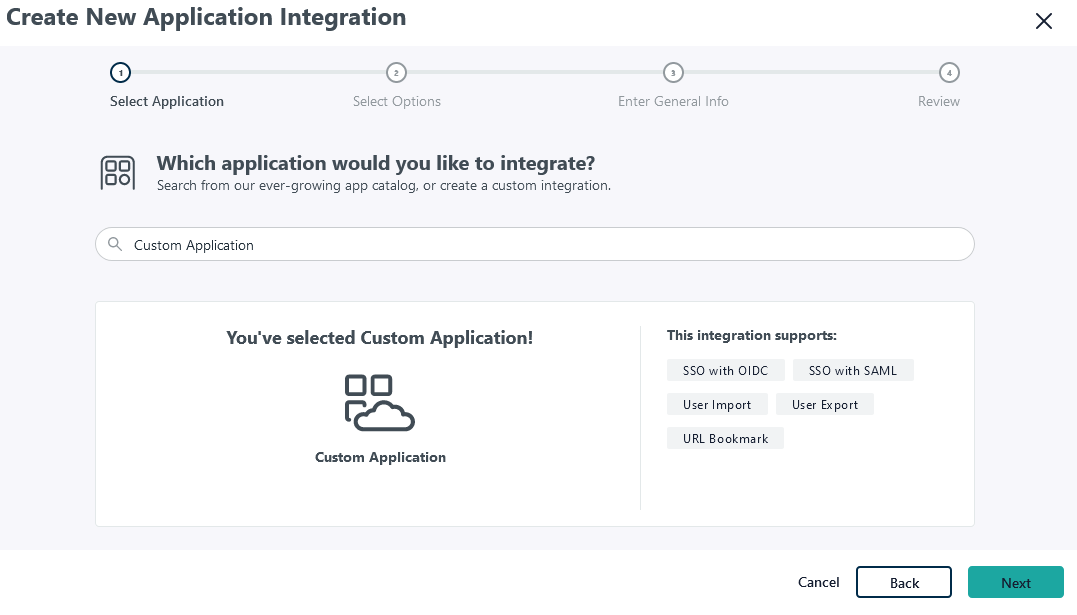
Select Custom Application and click on Next.
-
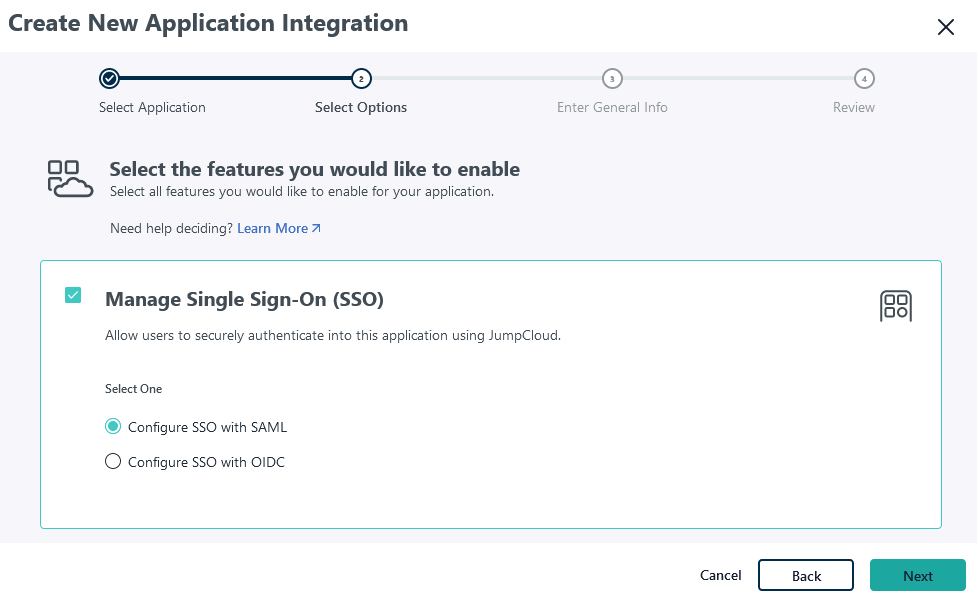
Choose just the Manage Single Sign-On (SSO) feature and then Configure SSO with SAML. Click Next.
-
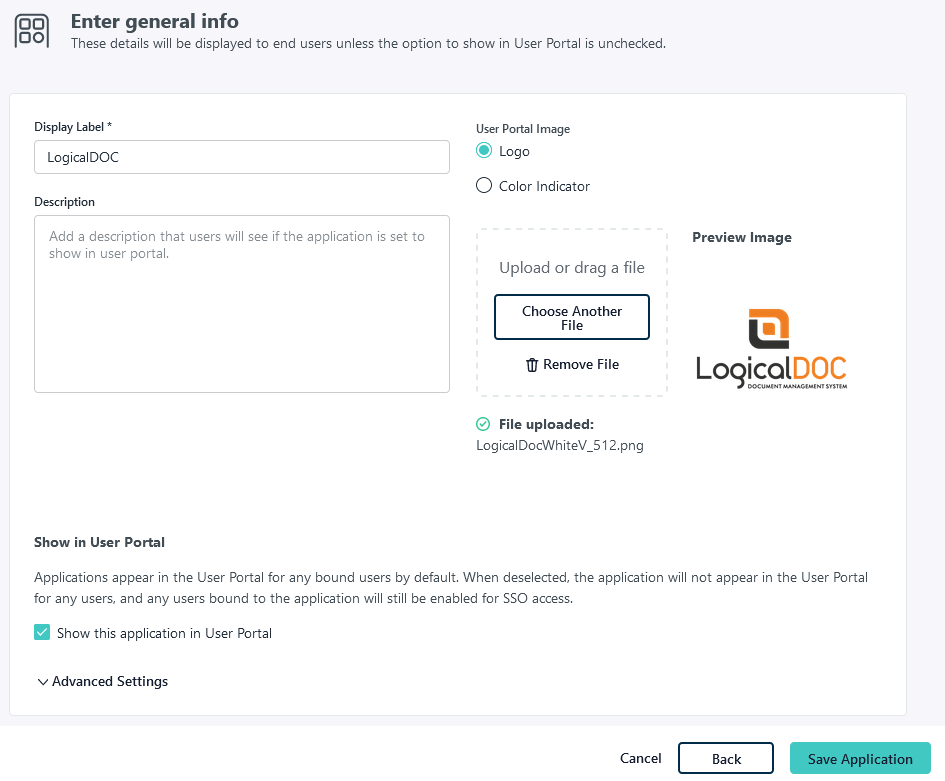
Enter General info, for the application, including Display label and Logo (optional). It’s recommended to display the application icon to users. If you’d like to use a LogicalDOC logo for the application, you can download one from our page.
-
In the next screen, select Configure Application.
-
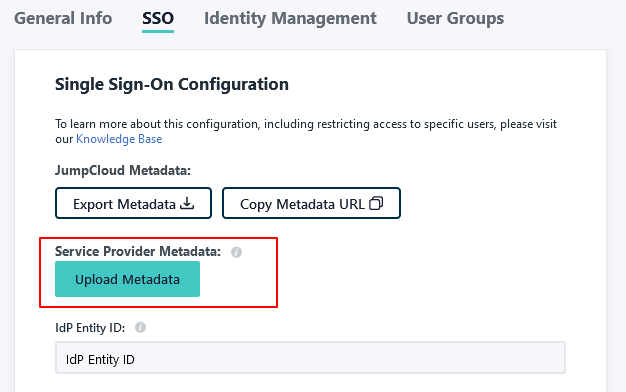
Upload the Service Provider metadata you obtained at step 7 of LogicalDOC's preparation.
-
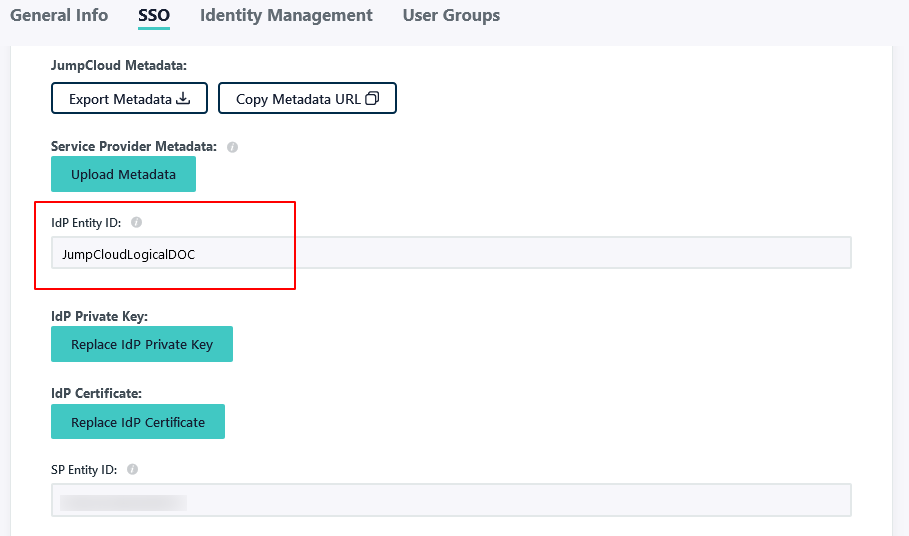
Enter a unique IdP Entity ID.
-
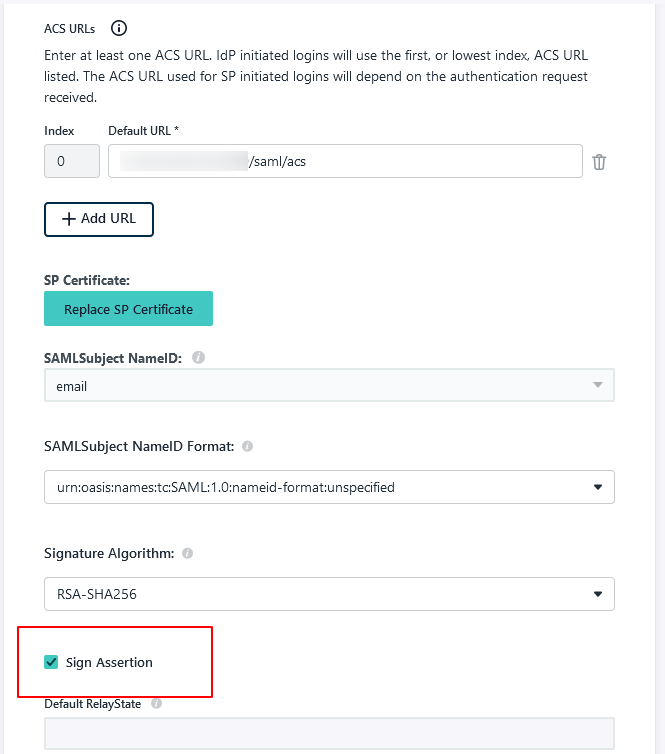
Check the Sign Assertion option.
-
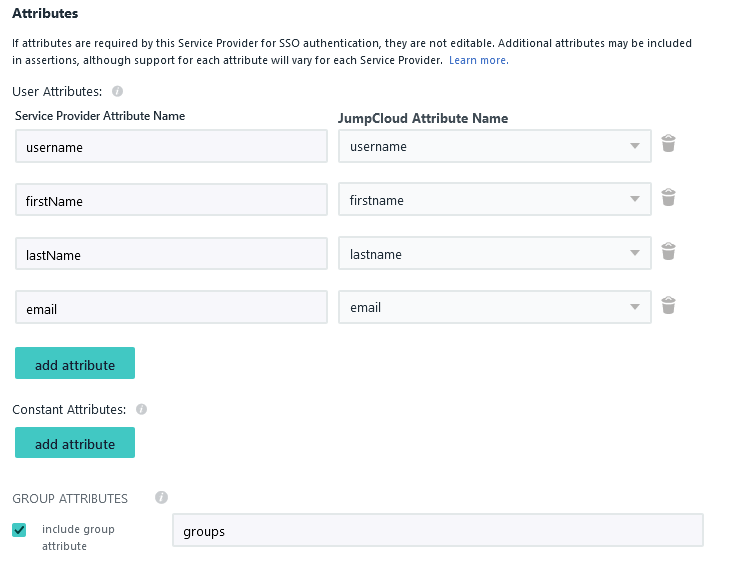
In the attributes section, click on add attribute and insert the following attribute mappings:
- Map Service Provider Attribute Name username to JumpCloud Attribute Name username
- Map Service Provider Attribute Name firstName to JumpCloud Attribute Name firstname
- Map Service Provider Attribute Name lastName to JumpCloud Attribute Name lastname
- Map Service Provider Attribute Name email to JumpCloud Attribute Name email
-
Enable Include group attribute and type groups
-
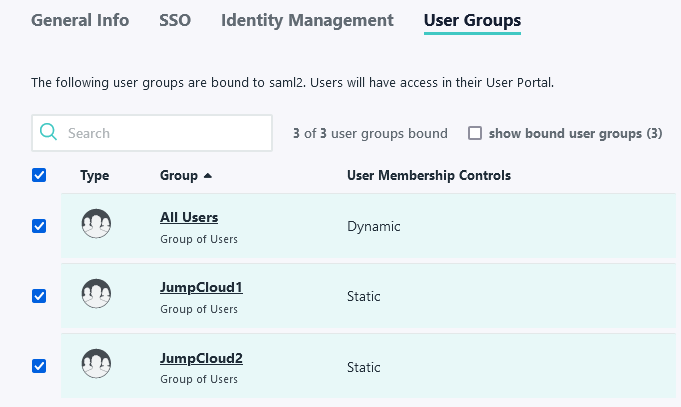
Assign the user groups to this new application
-
Select Save to complete.
Export identity provider metadata
Next, export the identity provider metadata, which will be later uploaded to LogicalDOC to finish SAML configuration.
-
In JumpCloud go to SSO Applications and here click on the LogicalDOC entry
-
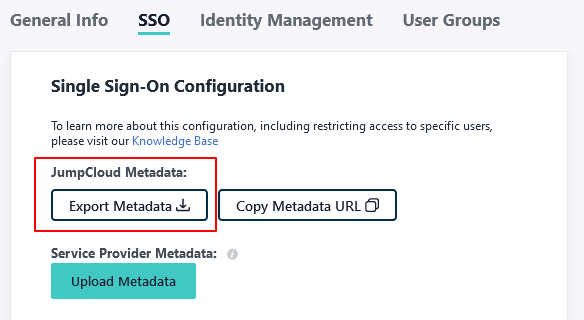
Open the SSO tab and click on Export Metadata
-
Go to LogicalDOC in Administration > Security > SAML Single Sign-On and upload the Identity Provider Metadata file into the field IdP metadata.
Click on Save button to confirm all.
Test the login
In order to test if all was correctly configured, you may try to initiate a login from LogicalDOC acting as the Service Provider.
- Go to LogicalDOC in Administration > Security > SAML Single Sign-On and copy the link of the Login field (it is the base URL of LogicalDOC followed by /saml/login).
- Open a different browser and paste the URL and you should be redirected to the JumpCloud login page.
- Here, enter the credentials of a user in your JumpCloud platform, and you should be logged directly into LogicalDOC.


