Kofax Bridge

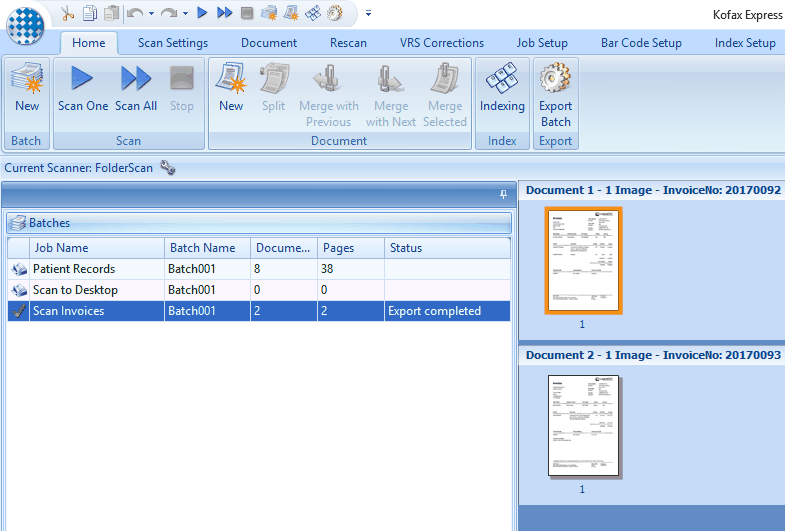
Kofax Express è un'applicazione per Windows di scansione dei documenti orientata a batch, in grado di eseguire la scansione ad alta velocità con OCR Zonale e indicizzazione in tempo reale. Potete trovare ulteriori informazioni qui: http://www.kofax.com/document-scanning-software

Il Kofax Bridge è uno strumento di integrazione fornito da LogicalDOC che elabora l'output di Kofax Express e importa le scansioni e i campi estratti nel repositorio centrale. La combinazione di Kofax Express e Kofax Bridge aggiunge a LogicalDOC le buone funzionalità OCR Zonale.

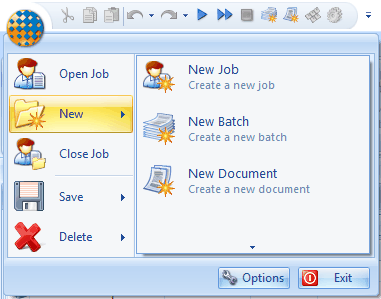
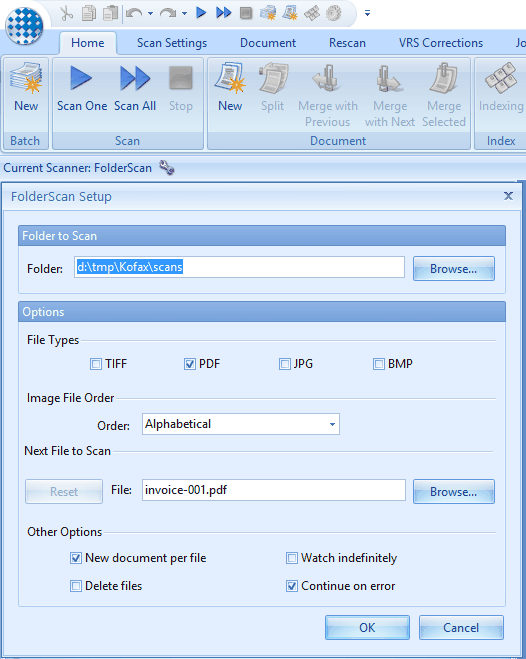
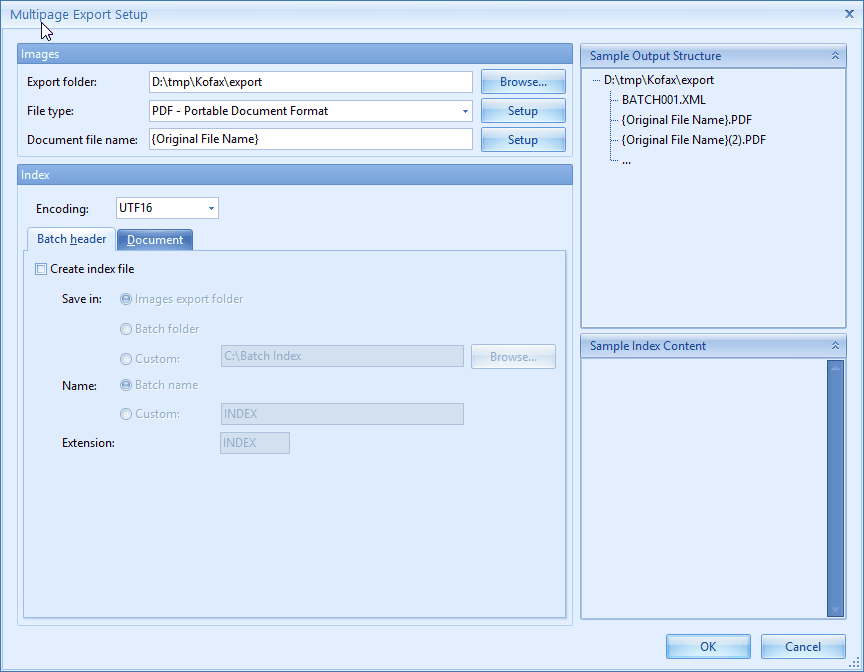
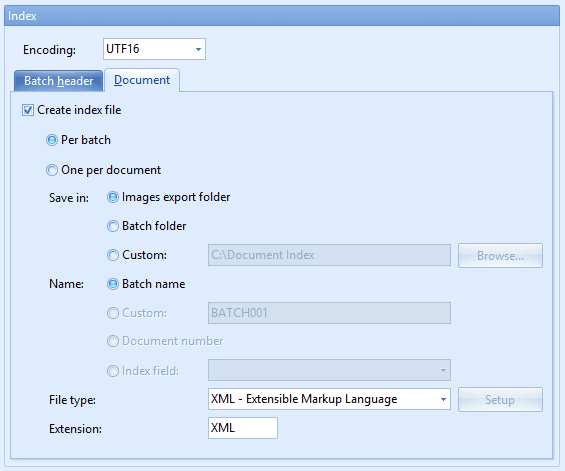
Installare e Configurare Kofax Express

Dopo l'installazione dell'applicazione Kofax Express, è necessario creare una o più operazioni di scansione configurate in un modo che possa essere elaborato correttamente da Kofax Bridge.

>>Si prega di leggere questa guida che spiega come impostare un processo semplice per elaborare fatture<<

Installare e Configurare Kofax Bridge

Scarica il file di installazione dal sito di download. Per installare LogicalDOC Kofax Bridge scompattare l'archivio zip, poi aprire una finestra terminale e eseguire il comando dalla riga di comando:

$ java -jar logicaldoc-kofax-installer.jar

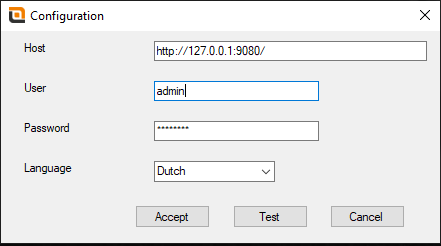
Durante il setup sarà necessario inserire i parametri di connessione all'installazione di LogicalDOC.

In Windows, dopo l'installazione avrai un nuovo servizio Windows e nella barra di stato apparirà una nuova icona.

Per configurare i batch di importazione, fare clic con il pulsante destro del mouse sull'icona LogicalDOC Kofax e scegliere Impostazioni. Verrà visualizzata una console e ti consente di configurare i diversi batch da monitorare.

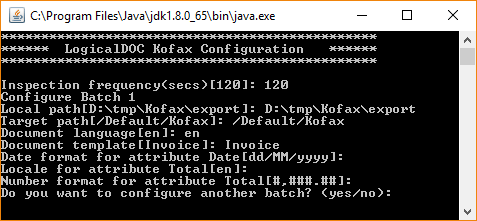
Per ogni batch è necessario specificare:

  • Il percorso locale in cui Kofax Express esporta l'output di questo batch
  • Una cartella di destinazione in LogicalDOC che riceverà le tue scansioni
  • La classe documentale che definisce gli stessi campi estratti da Kofax Express

È importante notare che ogni batch è associato a una classe documentale e che i nomi degli attributi di questa classe devono corrispondere ai campi configurati in Kofax Express, in questo modo le informazioni estratte saranno memorizzate negli attributi estesi dei documenti.

A questo punto il Bridge è completamente configurato e in esecuzione, quindi è possibile lavorare con l'applicazione Kofax Express e di volta in volta Kofax Bridge importa in LogicalDOC le tue scansioni con i metadati estratti e memorizzati come attributi estesi.


Configure Kofax Express

In this guide we will configure in Kofax Express a Job to process scans that are invoice, in this simple scenario we will extract just 3 fields: InvoiceNo, Date, Customer

1 - Create a new Job

In the main menu click on New Job

Now pen the Job Setup tab, where you have to apply some configurations.

In the section Destination make sure that the selected Job is Scan Invoices.

In the section Export uncheck the option Delete batch after export and change the Connector to Multipage.

In the section Associated Scan Profile choose FolderScan.

In the toolbar you see now that the Current Scanner is FolderScan, please click in the configuration icon and put the path that will contain the scans, please save this path for future reference.

2 - Configure the Export Format

In the Job Setup tab, click on the icon to configure the Multipage connector.


Here apply the following settings:

Export Folder: put a path that will receive the ouput of the processing, please save this path for future reference.

File type: select PDF

Document file name: put {Original File Name}

You can deselect the Create index file option

Now open the Document tab

Here check the Create index file option and choose Per batch.

In Save in choose Images export folder

In Name leave Batch name

In File type choose: XML

3 - Define the fields

We will define now 3 fields that will be extracted from the invoices: InvoiceNo, Date, Customer. Open the Index Setup Tab and here click in New button in the Index Fields section.

Give the name InvoiceNo to the new field, select Single line as Type, in Zonal Recognition select Template Mode. In the same way create the Customer field.

Now we will create the Date field with a validation.

In the validation put the following recognition pattern: DD"/"MM"/"YYYY

Use same name for fields and extended attibutes

The extracted informations will be stored in extended attributes of a Template configured in LogicalDOC. For this reason you must have a perfect match between the name of the fileds configured in Kofax Express and the name of the extended attributes configured in the Template in LogicalDOC.

4 - Create a new Batch

Open the the Home tab of the ribbon bar and click on the New button in the Batch section, this will create a new batch and a new row will appears in the Batches window.

Now put your scans in the folder you configured in Step 1 and then click on Scan All button in the Scan section.

Now the program processes the scans folder and at the end in the right panel you will see all the documents loaded in the batch, in this case they are invoices.

5 - Define the Zones

After your scans are loaded, you have to define the recognition zones, to do so open the Home tab and click on the Indexing button. In the next panel you see a preview of the first scan so press the Draw Zone button an draw the zone for each one of the fields.

When you have defined the zones click on the Next document arrow button and do the same fo all the following documents.

6 - Export the Batch

Click again the Indexing button to return to the batches visualization, in the batches list right click on the current batch and choose Start Export.

Kofax Express extracts all the fields and will produce it's output in the path you confiured in Step 2. It is the same folder that will be monitored by the LogicalDOC Kofax Bridge.

Cliente di Firma Digitale

LogicalDOC fornisce un client per permetterti di firmare digitalmente i tuoi documenti direttamente dal tuo desktop.

Il Client di Firma Digitale per il tuo PC Windows è disponibile nel sito web di download.

Configurazione

Una volta installato, apri il tuo Client di Firma Digitale e apri il menu File > Configurazione.

Nel modulo di configurazione devi inserire le seguenti informazioni:

  • URL: l'indirizzo dell'istanza del tuo sistema
  • Nome utente: il nome utente che utilizzi per accedere al sistema
  • Password: la password che utilizzi per accedere al sistema
  • Lingua: la lingua dei documenti che memorizzerai nel sistema

Conferma i parametri premendo Accetta e il gioco è fatto. Ovviamente è necessario configurare solo una volta poiché tutte queste informazioni vengono salvate sul disco rigido. In qualsiasi momento puoi riaprire il modulo di configurazione e modificare ciò che desideri.

Firmare un document

Per firmare un insieme di file con uno dei certificati installati nel tuo computer Windows, avvia il client e trascina i documenti nella finestra dell'applicazione.

Ti verrà chiesto di scegliere uno dei certificati disponibili:

Il passaggio successivo consiste nello scegliere la cartella di destinazione in cui archiviare i documenti firmati:

Ora tutti i file sono firmati localmente e caricati nella tua installazione di LogicalDOC.

Se accedi all'interfaccia web vedrai i tuoi nuovi file e nella scheda Firma il certificato utilizzato per firmarli: