
Autofill Using Fillers

LogicalDOC allows you to automatically populate document metadata using Fillers.

Fillers analyze the content of a document and assign values such as tags, language, or template without manual input.

Autofill can be performed in different ways depending on your workflow:

  • Manually, by executing a specific filler
  • Using predefined autofill actions (e.g. tags, language)
  • Automatically through folder policies

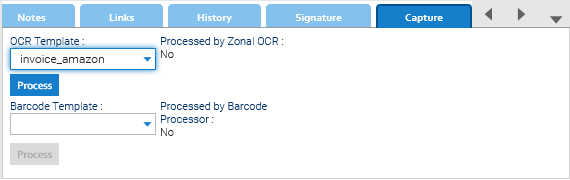
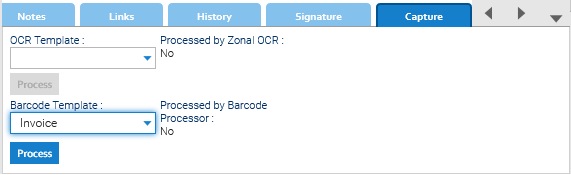
Apply a Filler from the Capture Tab

You can manually apply fillers to a document that is already stored in the system.
With a selected document, go to the Capture tab, select a filler from the Filler drop-down list, and save. After that, you can click Process.
The selected filler will analyze the document and update its properties accordingly.

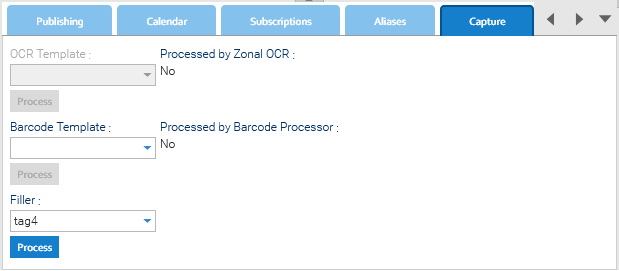
In the example, a Tag filler is selected, but any available filler can be used depending on the desired result.
After processing, open the Properties tab to view the updated values.

Autofill from the Properties Tab

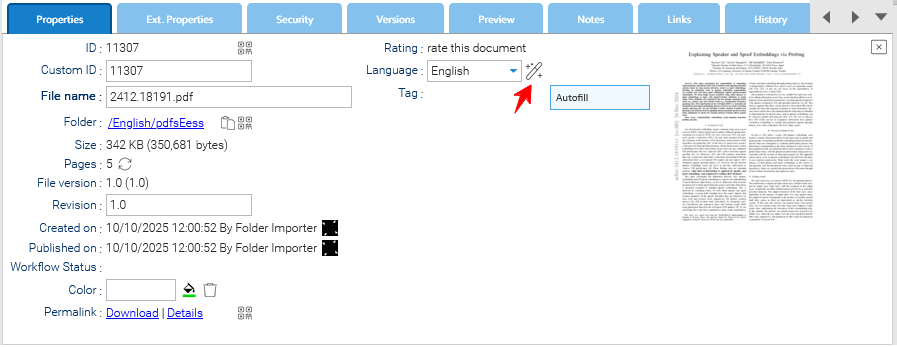
You can also trigger autofill for specific fields (tags and language) directly from the Properties tab.
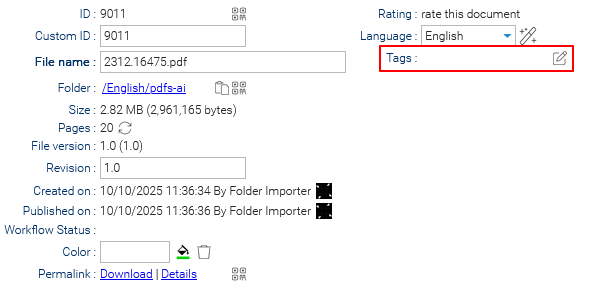
Autofill Tags

With the document selected, open the Properties tab and click on the Edit tags icon next to the Tags label.

Once the Edit tags icon is clicked, a new set of tag-editing settings appears. 
With these new settings, it is possible to manually add tags or to click on the Autofill icon to automatically populate the Tags field.

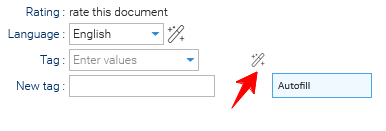
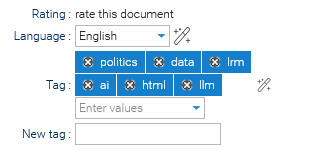
At this point, you can edit the selection or finalize it by clicking Save.

Info

When you click on the Autofill icon, the system will find the first configured filler of type Tag. If no Tag filler has been created in the system, this feature won't work.

Autofill Language

Autofilling the language, or autofilling it again if the presented language is incorrect, is simpler.
Go to the Properties tab and click the Autofill icon next to the Language field
The system will automatically detect and assign the document's language.

Autofill automatically through folder policies

Similarly to what happens with documents, by selecting a folder, it is possible to define a filler in the Capture tab of that folder.

This selection will automatically define the filler for every document placed in that folder.

Versioning

Each time a document is changed, the current version is saved, and a new one is generated that becomes the actual version. You can inspect all past versions in the Versions tab.

Version and File Version

In reality, two versions are maintained: the Version itself changes whenever a change is made to the document, whether in the content or in the metadata, while the File Version changes only following the check-in of a new revision of the file.

If you change something in the metadata, the Version changes, but the File Version stays the same.

If you check in a new revision of the document, then the Version gets increased and the File Version is set equal to Version.

Major and Minor versions

Both Version and File Version are composed by two numbers separated by a dot, the number on the left is called major and the number on the right is called minor: major.minor

Some version samples: 1.0, 1.1, 1.2, 1.345, 2.0, 2.2 ...

When you change something in the metadata, the minor gets increased by one, so if the current Version is 1.10 it becomes 1.11

When you check in a new major revision, the minor is set to 0 and the major get increased by one, so if the current Version is 1.10 it becomes 2.0 and the File Version becomes 2.0

When you check in a new minor revision, the minor gets increased by one, so if the current Version is 1.10 it becomes 1.11 and the File Version also becomes 1.11

Maximum number of versions

By default, there is no limit in the number of versions, but in Administration > Settings > GUI Settings you may set the Max Versions setting that defines the maximum number of versions to maintain for each document within the whole repository.

You can also overwrite that general setting at workspace level.

If you set a maximum versions number, then just the given number of most recent versions are maintained, while the oldest one gets removed.

Version Promotion

Sometimes you want to restore a past version and make it the current one. To do so, right-click on the version you want to promote and choose Promote.

Revision

While Version and File Version are automatically handled by LogicalDOC, you can implement your own versioning by using the property Revision.

By default, the Revision is kept the same as the Version, but you can manually edit it or even create an auto-revisioning scheme.

Archiving a selection of documents

Typically, the archiving feature is used those times you want to maintain old or obsolete contents in your system, but you don't want them to be accessible during normal operations.

In LogicalDOC when a document is archived it continues to exist in the system, but it is stored in a different area no more available during folder browsing or searches, this optimizes the performances.

If you are granted the Archive permission in the current folder, just right-click on a selection of documents and choose Archive.

You will be required to enter a comment and then confirm. You will see the documents disappear, this proves they were correctly archived.

Archived documents report

The archived documents will only be accessible by a dedicated report in the administration panel, and they can be restored in the original location by the administrator of the system


Stamping a document

Stamp is only allowed in the Documents screen for any document which is a PDF or can be converted to PDF. In order to stamp a document, it is necessary to have working integration with 3rd party software as described in the installation guide.

If you have the write permission, select a document and click on the Stamp icon of the toolbar.


A dialog box allows you to choose one of the stamps assigned to you.

Please select one and click on Apply, now the stamp is printed in the document and a new stamp icon appears on the left.

You can click on this icon to download the PDF conversion with the recently applied stamp.

Electronic Signature

If you saved an electronic signature into your profile, then you can stamp it inside the document by choosing the special stamp called signature-your_username, for instance if your username is john, then your electronic signature will appear as a stamp called signature-john.

Visual positioning

If in the stamp selector you also choose the Visual positioning option, you will be asked to position and size the stamp area inside the document.

LogicalDOC Data Source

Extracting fields using the OCR

LogicalDOC allows the extraction of fields from your scans using barcodes or OCR zones. The prerequisite is that the document must be assigned to a template that define a list of extended attributes.

Extract the fields with the Zonal OCR

In the Capture tab, open the OCR Template drop-down list and select one of the OCR templates available for the document's template and save.

Now you can click on the Process button to start the elaboration, at the end just open the Ext. Properties tab to see how the fields were extracted.

Extract the fields with the Barcodes

In the Capture tab, open the Barcode Template drop-down list and select one of the barcode templates available for the document's template and save.

Now you can click on the Process button to start the elaboration, at the end just open the Ext. Properties tab to see how the fields were extracted.