
Allowed commands

LogicalDOC relies on a set of external commands to implement features like document preview or OCR. You may also run whatever external command from inside the Automation.

In order to improve the security, only those commands listed in the file <LDOC_HOME>/conf/allowed-commands.txt can be executed. That is a text file you can edit easily edit and the format is very simple: each line represents the full path of an allowed command.

A simple allowed-commands.txt looks like this:

C:\LogicalDOC\imagemagick\convert.exe
C:\LogicalDOC\ghostscript\bin\gs.exe
C:\LogicalDOC\openssl\bin\openssl.exe
C:\LogicalDOC\clamav\clamscan.exe
C:\LogicalDOC\tesseract\tesseract.exe

If you want to allow all possible commands, you may put the special line *:

*
C:\LogicalDOC\imagemagick\convert.exe
C:\LogicalDOC\ghostscript\bin\gs.exe
C:\LogicalDOC\openssl\bin\openssl.exe
C:\LogicalDOC\clamav\clamscan.exe
C:\LogicalDOC\tesseract\tesseract.exe

SAML Single Sign-On

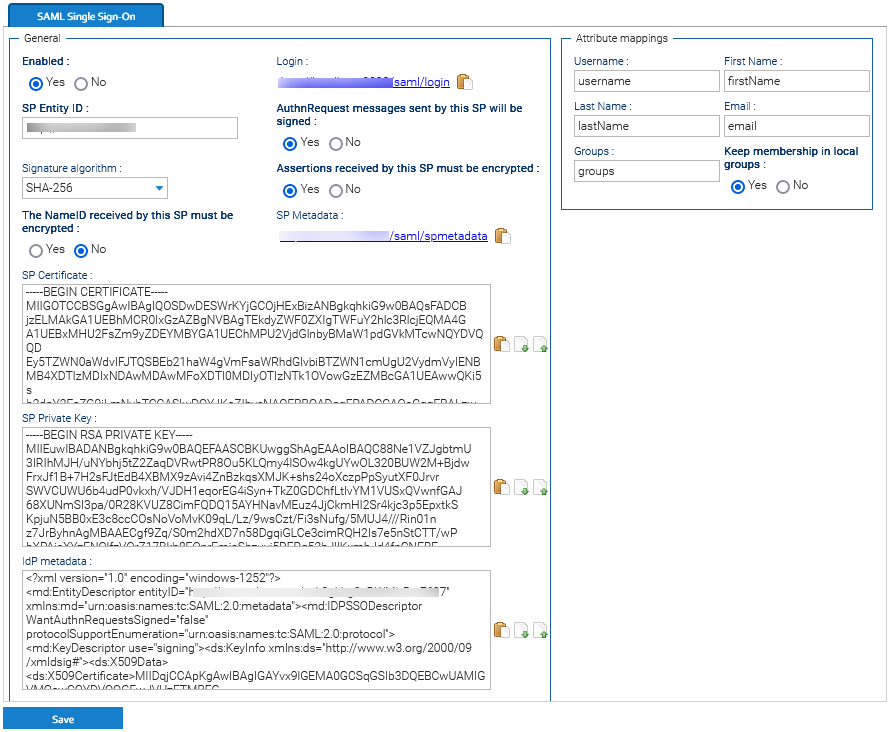
Single Sign-On (SSO) is a way for users to log into multiple applications with a single user ID and password without having to re-enter their credentials. The SAML standard allows identity providers to pass credentials to service providers. LogicalDOC can be configured to act as a SAML 2.0 Service Provider (SP).

Security Assertion Markup Language (SAML) is an open standard that allows identity providers (IdP), like Okta, to pass authorization credentials to service providers (SP), like LogicalDOC.

In simpler terms, it means you can use one set of credentials to log in to many different sites. With a SAML identity provider account, you can log in to LogicalDOC and other sites securely with the same account.

The main benefit is that it helps administrators centralize user management by controlling which sites users have access to with their SAML identity provider credentials.

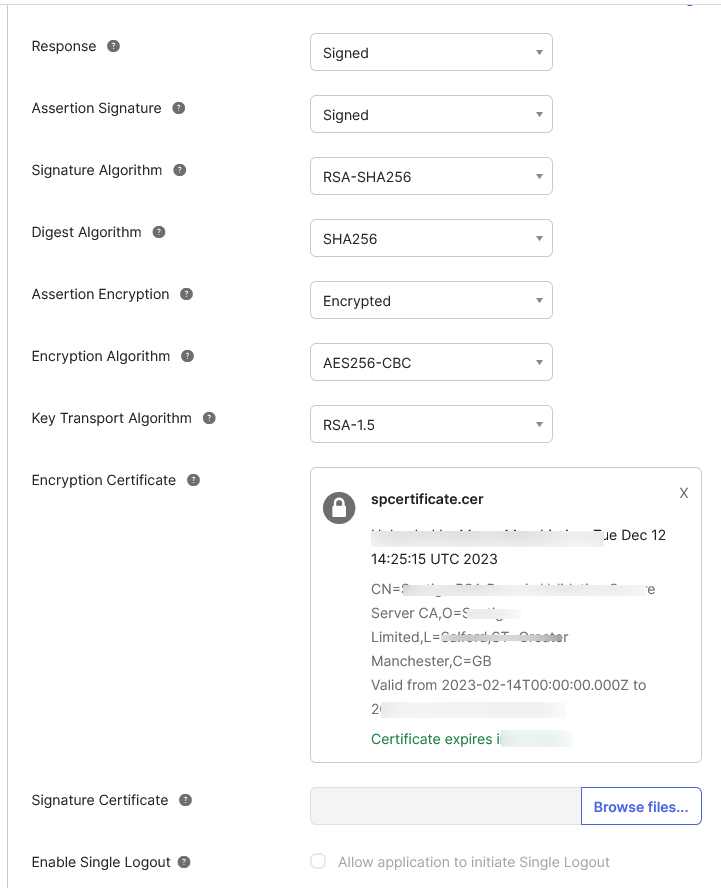
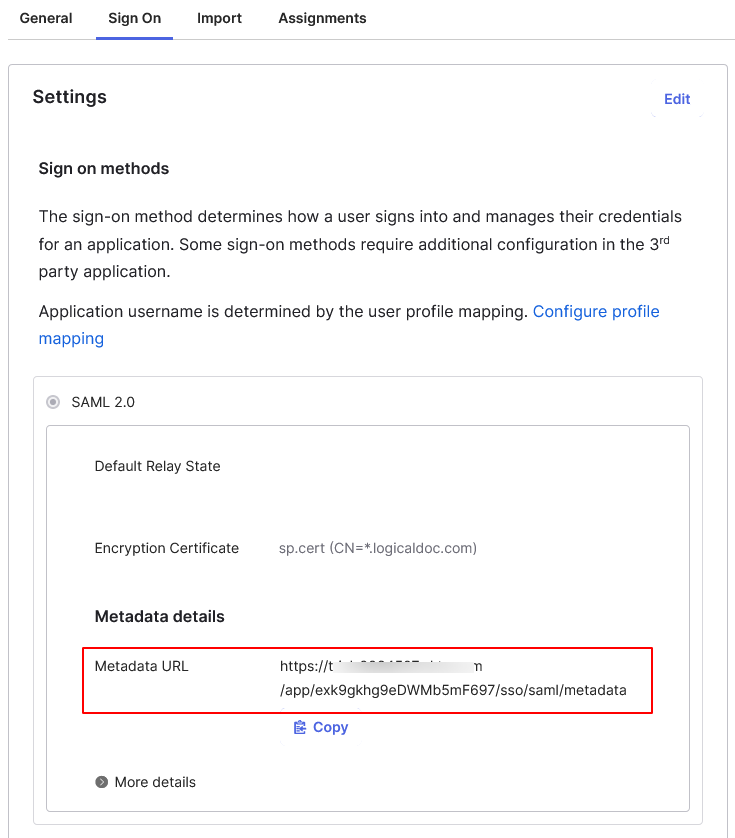
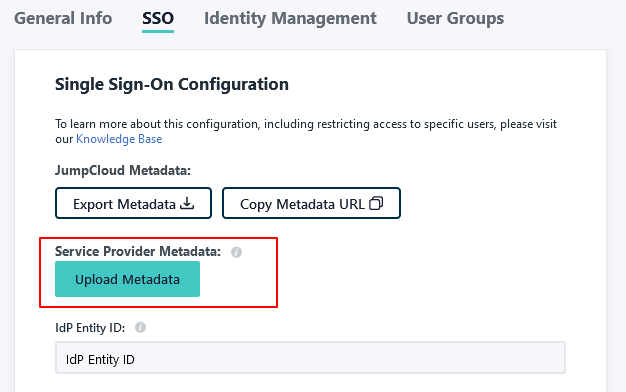
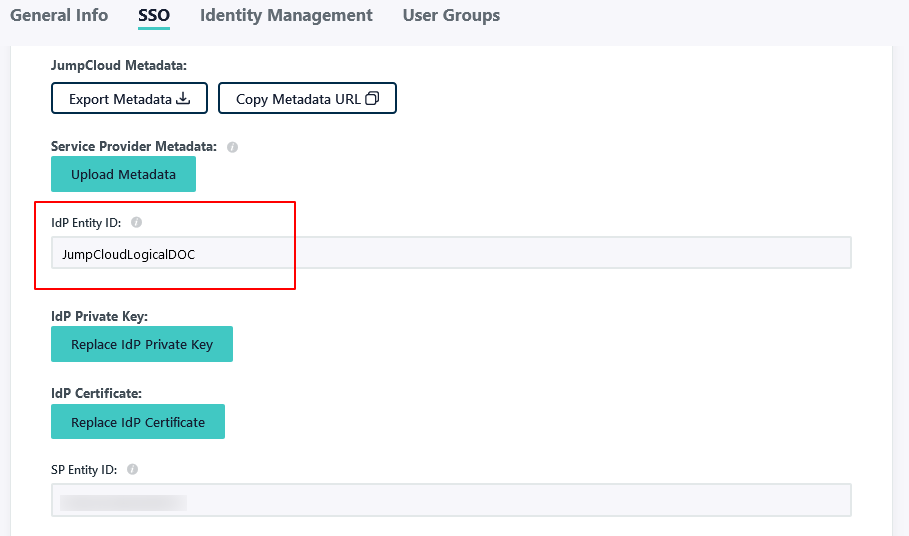
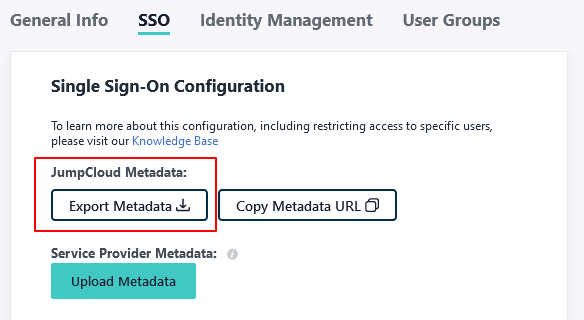
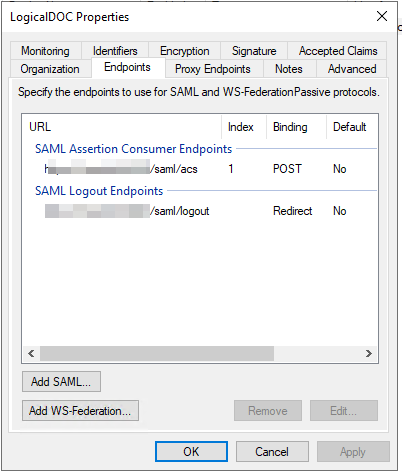
LogicalDOC supports using a single metadata file to retrieve configuration information for the Identity Provider. The IdP metadata XML file contains the IdP certificate, the entity ID end the redirect URL.

The SAML Single sign-on integration offers the following benefits:

  • Single Sign-On. Users can log in to LogicalDOC with their SAML credentials.
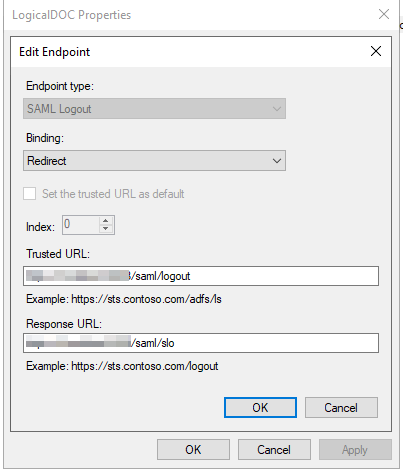
  • Single Logout (SLO). As an option, a user signing out from LogicalDOC will be signed out from all the other applications that he was signed in using the same credentials.
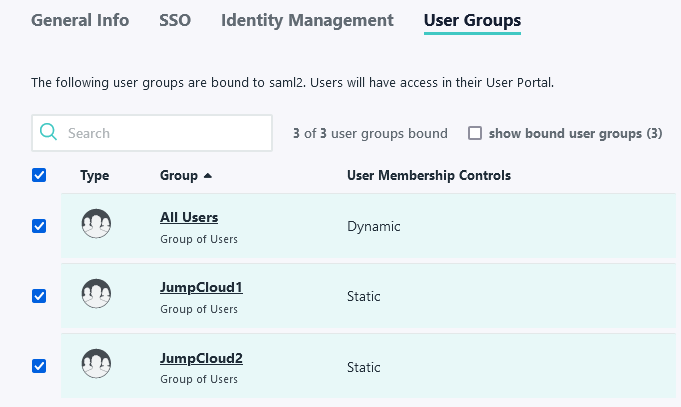
  • Centralized identity management. LogicalDOC accounts automatically pull user attributes from SAML upon login, such as full name, email, and username.
  • Automatic account provisioning. LogicalDOC user accounts are automatically created the first time a user signs in with their SAML credentials.

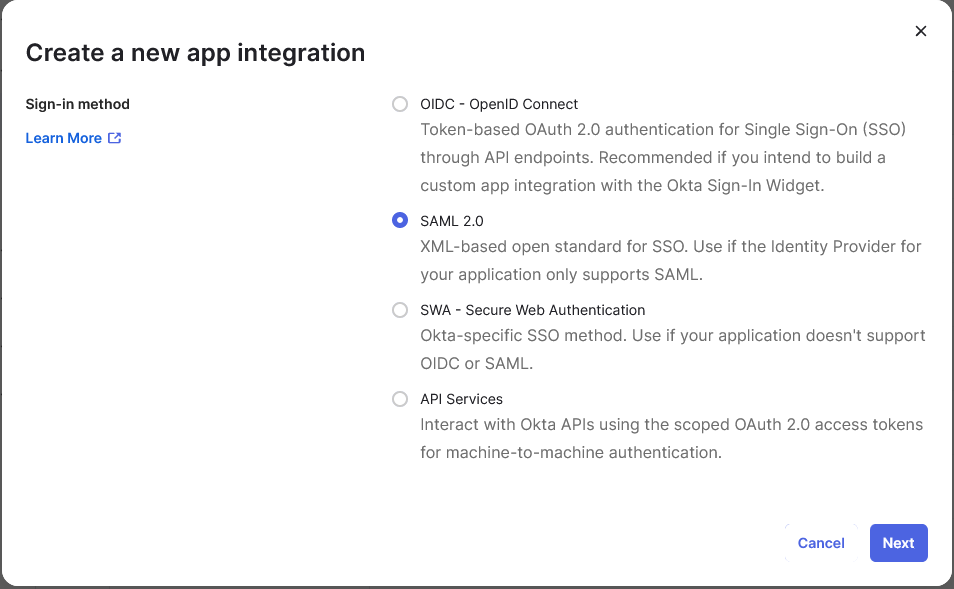
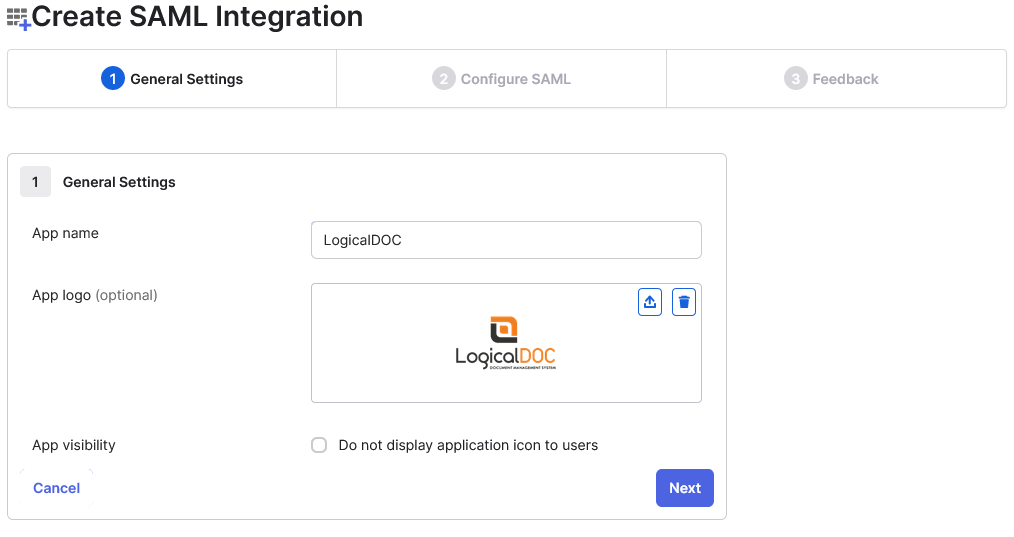
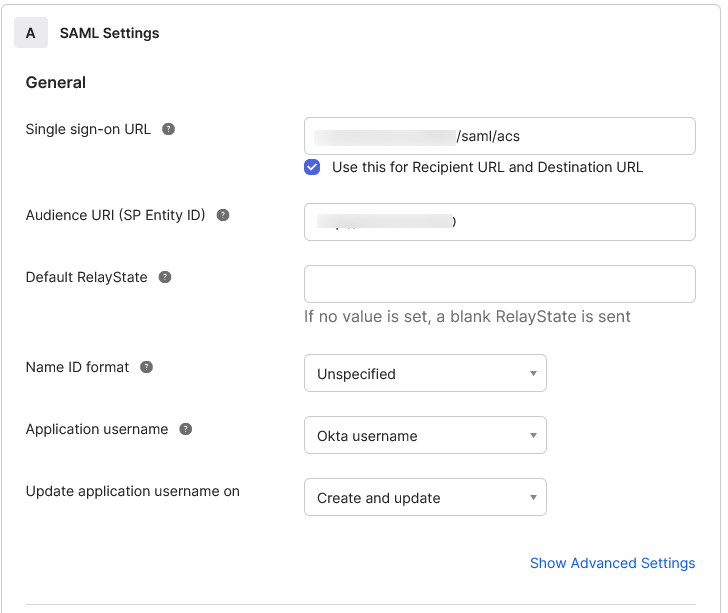
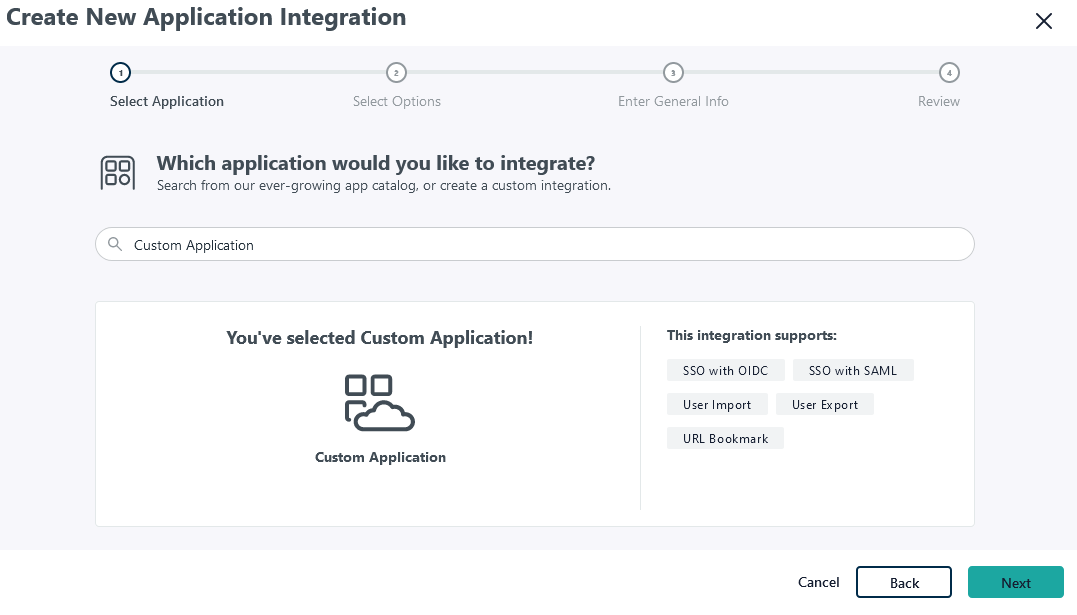
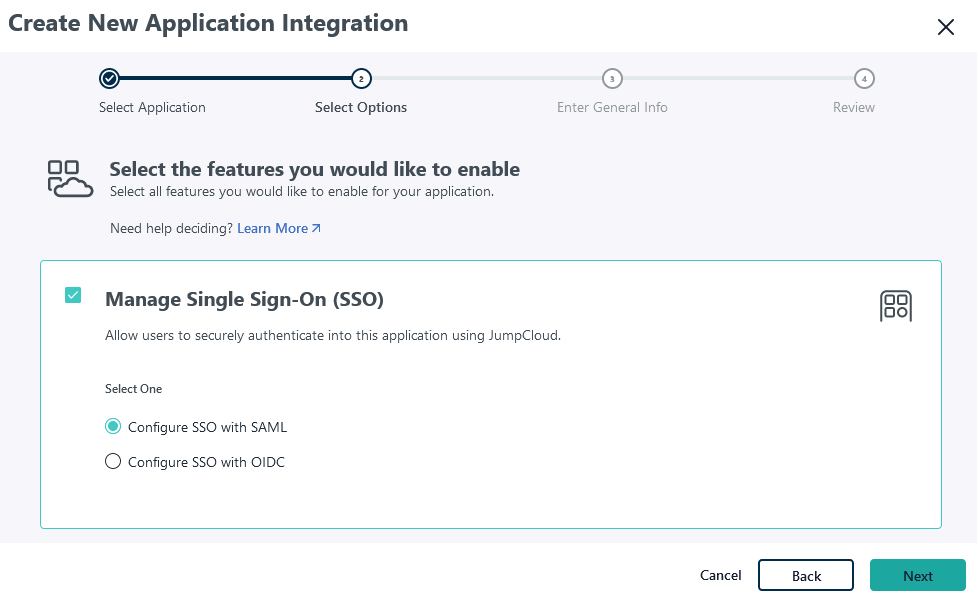
At the time of writing LogicalDOC was tested with Okta, JumpCloud and Microsoft Ads as the identity providers (IDPs), please see links below for more details on how to configure SAML with these providers.

In addition to these identity providers, you can also configure SAML for a custom IdP. It is important that you test new versions of LogicalDOC in a staging environment to confirm it will work with your identity provider.

Info

Even if you enable the Single Sign-On, the standard login page continues to be available and works as usual.

Validation

You may optionally provide an automation procedure invoked any time a user is about to be authenticated through the SAML to decide if it must be authenticated or not, or to perform further elaborations on the user itself. The automation procedure will receive the variable samlUser, use the boolean flag samlUser.valid to mark the user as authorized or not.

Dictionary available for the Automation in this context

AUTOMATION CONTEXT: SAML SINGLE SIGN-ON
VariableJava ClassDescription
samlUser

SamlUser

the user being authenticated

Read the Automation manual for more information.

Configure SAML with JumpCloud

Before you begin

Before you begin, you need to generate encryption certificates for encrypting the SAML connection and load them in LogicalDOC

  1. You can use the Bash script from the logicaldoc/scripts repository on GitHub, or any other suitable method.
  2. Save the two files that are generated. They are the private key and the public key. In the SAML settings panel, they are referred to as the SP Private Key and the SP Certificate respectively.

Prepare LogicalDOC

  1. Enable the SAML Single-sign-on in Administration > Security > SAML Single-sign-on
  2. In the SP Entity ID field put a unique identifier(you may put here the same URL you normally use to connect to LogicalDOC, eg http://localhost:8080)
  3. Enable both the signature of the AuthnRequest messages and the encryption of received assertions
  4. Choose SHA-256 as Signature algorithm
  5. Upload the SP Certificate and SP Private Key generated at point 2 in the correspondent fields.
  6. In the Attribute mappings form, prepare following mappings:
    • In Username, type username
    • In First Name, type firstName
    • In Last Name, type lastName
    • In Email, type email
    • In Groups, type groups

    Click on Save to confirm all the configuration.

    SAML Panel
  7. Export the Service Provider metadata file by clicking on the URL displayed in the SP Metadata field. You will then use this file in JumpCloud later.

Now you completed the LogicalDOC's configuration and can approach the setup of JumpCloud,

Set Up an SSO Application for LogicalDOC Single Sign-On

  1. Log in to JumpCloud as an administrator.

  2. Go to SSO Applications > Add New Application.

  3. Select Custom Application and click on Next.

    JumpCloud Panel
  4. Choose just the Manage Single Sign-On (SSO) feature and then Configure SSO with SAML. Click Next.

    JumpCloud Panel
  5. Enter General info, for the application, including Display label and Logo (optional). It’s recommended to display the application icon to users. If you’d like to use a LogicalDOC logo for the application, you can download one from our page.

    JumpCloud Panel
  6. In the next screen, select Configure Application.

  7. Upload the Service Provider metadata you obtained at step 7 of LogicalDOC's preparation.

    JumpCloud Panel
  8. Enter a unique IdP Entity ID.

    JumpCloud Panel
  9. Check the Sign Assertion option.

    JumpCloud Panel
  10. In the attributes section, click on add attribute and insert the following attribute mappings:

    • Map Service Provider Attribute Name username to JumpCloud Attribute Name username
    • Map Service Provider Attribute Name firstName to JumpCloud Attribute Name firstname
    • Map Service Provider Attribute Name lastName to JumpCloud Attribute Name lastname
    • Map Service Provider Attribute Name email to JumpCloud Attribute Name email
    JumpCloud Panel
  11. Enable Include group attribute and type groups

  12. Assign the user groups to this new application

    JumpCloud Panel
  13. Select Save to complete.

Export identity provider metadata

Next, export the identity provider metadata, which will be later uploaded to LogicalDOC to finish SAML configuration.

  1. In JumpCloud go to SSO Applications and here click on the LogicalDOC entry

  2. Open the SSO tab and click on Export Metadata

    JumpCloud Panel
  3. Go to LogicalDOC in Administration > Security > SAML Single Sign-On and upload the Identity Provider Metadata file into the field IdP metadata.

    Click on Save button to confirm all.

Test the login

In order to test if all was correctly configured, you may try to initiate a login from LogicalDOC acting as the Service Provider.

  1. Go to LogicalDOC in Administration > Security > SAML Single Sign-On and copy the link of the Login field (it is the base URL of LogicalDOC followed by /saml/login).
  2. Open a different browser and paste the URL and you should be redirected to the JumpCloud login page.
  3. Here, enter the credentials of a user in your JumpCloud platform, and you should be logged directly into LogicalDOC.

Configure SAML with Okta

Before you begin

Before you begin, you need to generate encryption certificates for encrypting the SAML connection and load them in LogicalDOC

  1. You can use the Bash script from the logicaldoc/scripts repository on GitHub, or any other suitable method.
  2. Save the two files that are generated. They are the private key and the public key. In the SAML settings panel, they are referred to as the SP Private Key and the SP Certificate respectively.

Prepare LogicalDOC

  1. Enable the SAML Single-sign-on in Administration > Security > SAML Single Sign-On
  2. In the SP Entity ID field put a unique identifier (you may put here the same URL you normally use to connect to LogicalDOC, e.g. http://localhost:8080)
  3. Enable both the signature of the AuthRequest messages and the encryption of received assertions
  4. Choose SHA-256 as Signature algorithm
  5. Upload the SP Certificate and SP Private Key generated at point 2 in the correspondent fields.
  6. In the Attribute mappings form, prepare following mappings:
    • In Username, type username
    • In First Name, type firstName
    • In Last Name, type lastName
    • In Email, type email
    • In Groups, type groups

    Click on Save to confirm all the configuration.

    SAML Panel

Now you completed the LogicalDOC's configuration and can approach the setup of Okta.

Set Up a connection app for LogicalDOC Single Sign-On

  1. Log in to Okta as an administrator.

  2. Go to Applications > Add Application.

  3. Select Create New App, then choose SAML 2.0 as the Sign-in method.

    Okta Panel
  4. Enter General Settings for the application, including App name and App logo (optional). It’s recommended to display the application icon to users, including in the Okta Mobile app. If you’d like to use a LogicalDOC logo for the application, you can download one from our page.

    Okta Panel
  5. Enter SAML Settings, including:

    • Single sign-on URL: https://your_logicaldoc_url/saml/acs where https://your_logicaldoc_url should typically match the LogicalDOC URL.

    • Audience URI: the identifier you used in step 2 of LogicalDOC's preparation

    • Name ID format: unspecified

    • Application username: Okta username

    Okta Panel
  6. To set up encryption for your SAML connection, select Show Advanced Settings.

  7. Set Assertion Encryption as Encrypted, then upload the Service Provider Public Certificate you generated earlier to the SP Certificate field.

    Okta Panel
  8. Enter attribute statements used to map attributes between Okta and LogicalDOC. For more information on which attributes are configurable, see our documentation on SAML configuration settings. Email and username attributes are required.

    Okta Panel

Export identity provider metadata

Next, export the identity provider metadata, which will be later uploaded to LogicalDOC to finish SAML configuration.

  1. In Okta go to Applications and here click on the LogicalDOC entry

  2. Open the Sign On tab and copy the Metadata URL.

    Okta Panel
  3. To retrieve the IdP (identity provider) metadata, in a browser, paste the complete URL.

  4. Go to LogicalDOC in Administration > Security > SAML Single Sign-On and upload the Identity Provider Metadata file into the field IdP metadata.

    Click on Save button to confirm all.

Test the login

In order to test if all was correctly configured, you may try to initiate a login from LogicalDOC acting as the Service Provider.

  1. Go to LogicalDOC in Administration > Security > SAML Single Sign-On and copy the link of the Login field (it is the base URL of LogicalDOC followed by /saml/login).
  2. Open a different browser and paste the URL and you should be redirected to the Okta login page.
  3. Here, enter the credentials of a user in your Okta platform, and you should be logged directly into LogicalDOC.

Configure Single Logout with Microsoft ADFS

The ADFS identity provider supports the Single logout, so you can set up SAML single logout (SLO).

When a user initiates a logout, the identity provider logs the user out of all applications in the current identity provider login session. The logout could be service provider initiated or identity provider initiated.

Prepare LogicalDOC

  1. Enable the SAML Single Logout in Administration > Security > SAML Single Sign-On
  2. Enable the encryption of the Logout requests and responses

    Click on Save to confirm all the configuration.

    SAML Panel

Now you completed the LogicalDOC's configuration and can approach the setup of ADFS.

Add the Logout endpoint

  1. Open the ADFS management snap-in, then select AD FS > Relying Party Trusts. Here, right-click on LogicalDOC and choose Properties, then move to the Endpoints tab.

  2. Here, click on Add SAML...  To add a new Logout endpoint, as Trusted URL put the LogicalDOC's base URL followed by the /saml/logout suffix and as Response URL put the LogicalDOC's base URL followed by the /saml/slo suffix

  3. You now created the new endpoint for the logout

Click the OK button to confirm.

Test the Logout

In order to test if all was correctly configured, you may do this:

  1. Login into one of the applications connected to the same ADFS
  2. Then enter the LogicalDOC's Single Sign-on login page
  3. Once inside LogicalDOC, press the logout button
  4. Now, check that you are now logged out from all the other applications also