")
")
")
Configuring Google API
You can create a connection between your Google account and LogicalDOC. This way, you will be able to use Google Cloud Applications like Drive, Calendar and Gmail from inside LogicalDOC. Third party applications can communicate with your Google account through the Google API, but a set of actions have to be taken to properly set up the API and get the credentials.
1
Visit the Google API console and create a new project
Enter into your Google API Console and then create a new project called LogicalDOC.
After accessing the Google API Console, sign in to your account.
Once you do that, you will be taken to the API & Services Dashboard. In order to go further, you will need to create a project or select an already existing one.
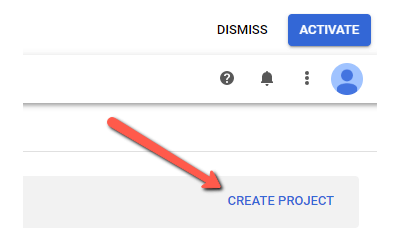
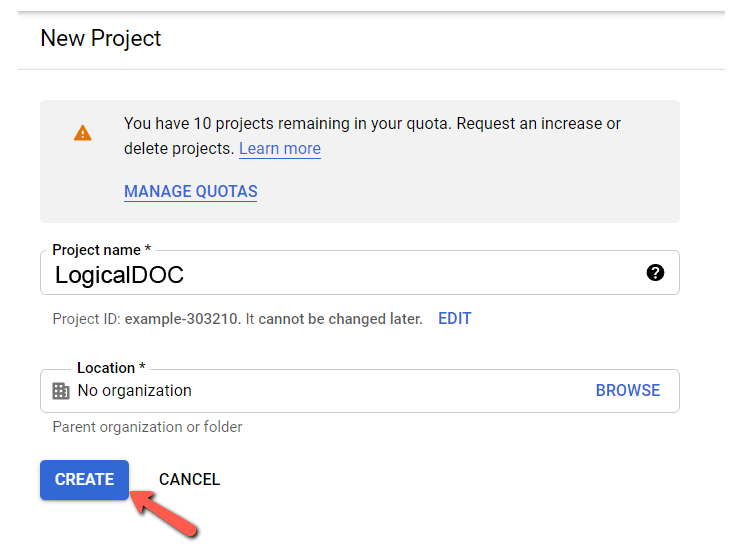
To create a new project, click on the Create Project option:
Then, configure the new project, and click on Create when you’re done:
2
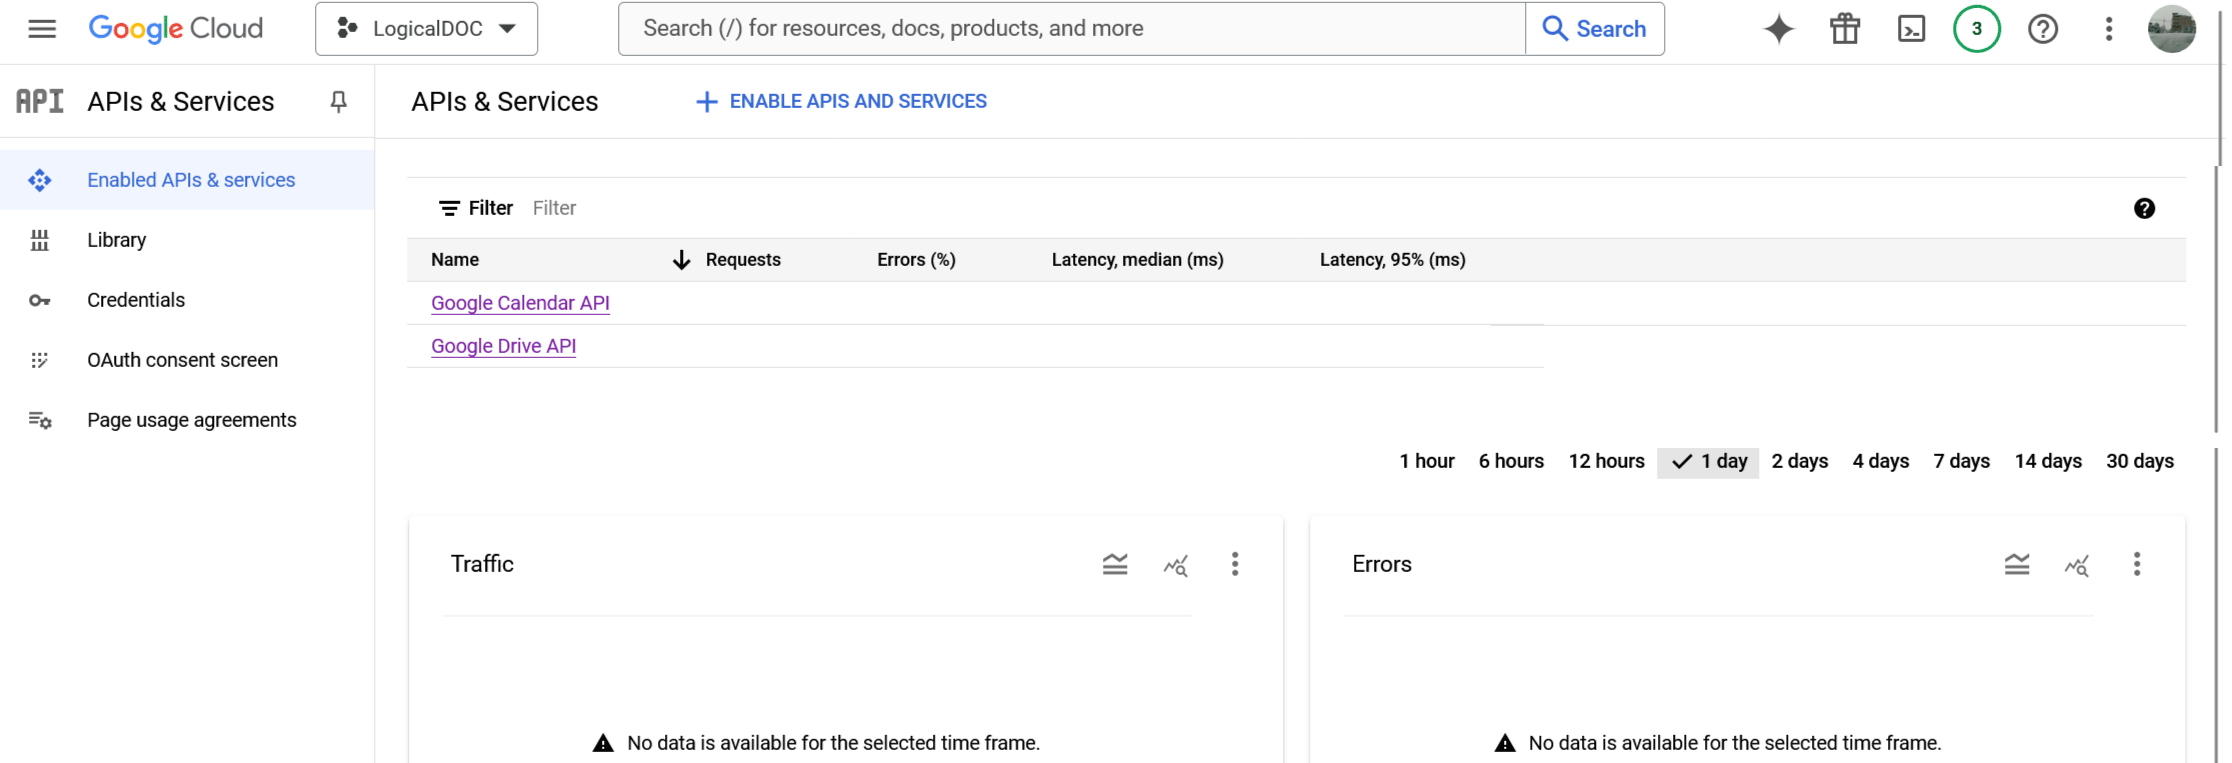
Enable the Google APIs
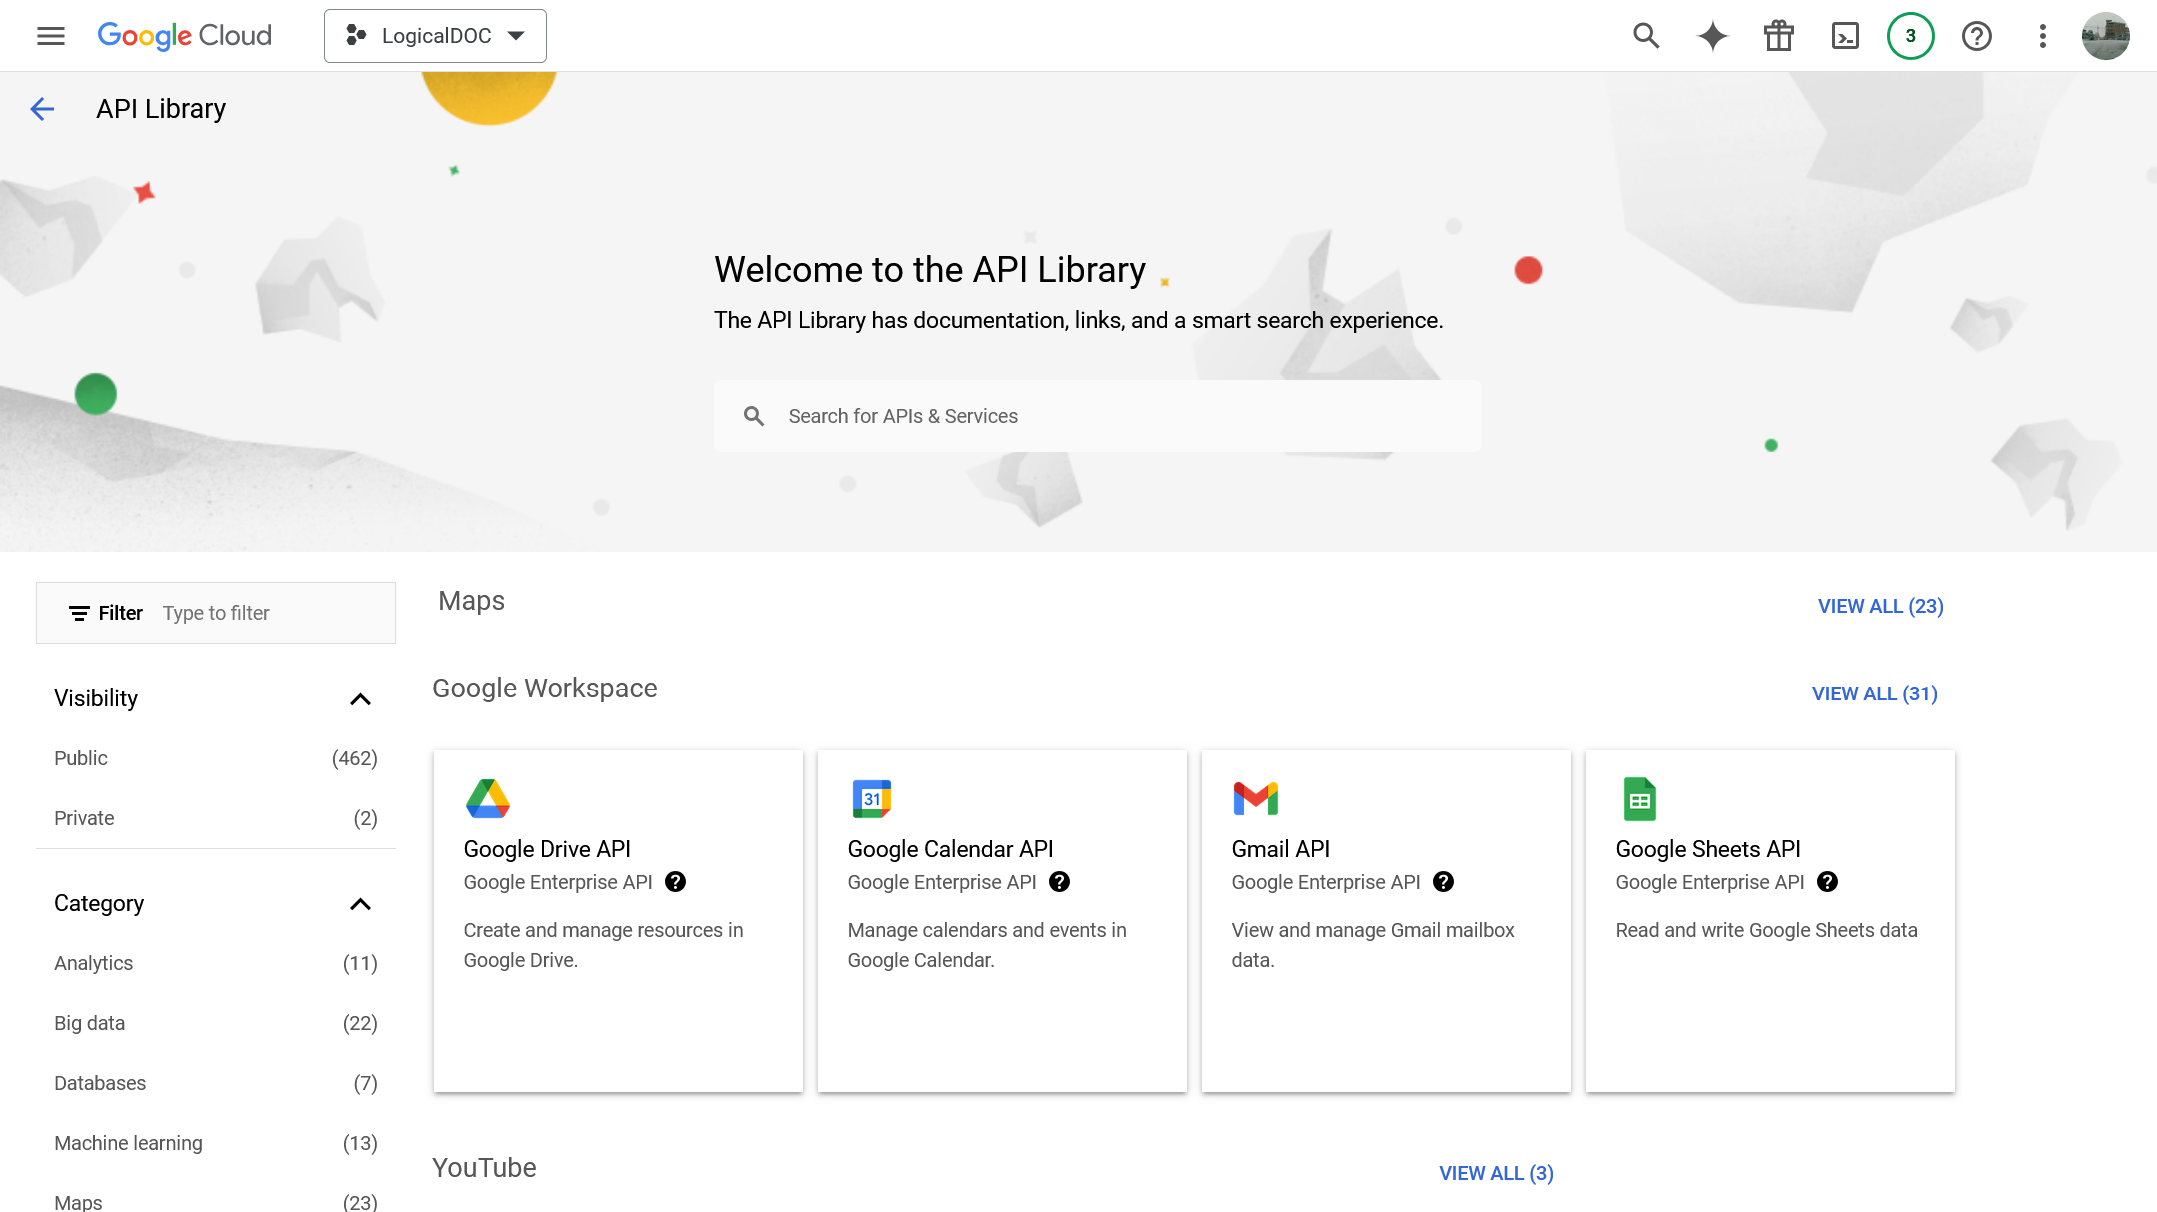
Make sure to enable both the Google Drive API and Google Calendar API by clicking on ENABLE APIS AND SERVICES and choosing the right services:
Then enable them:
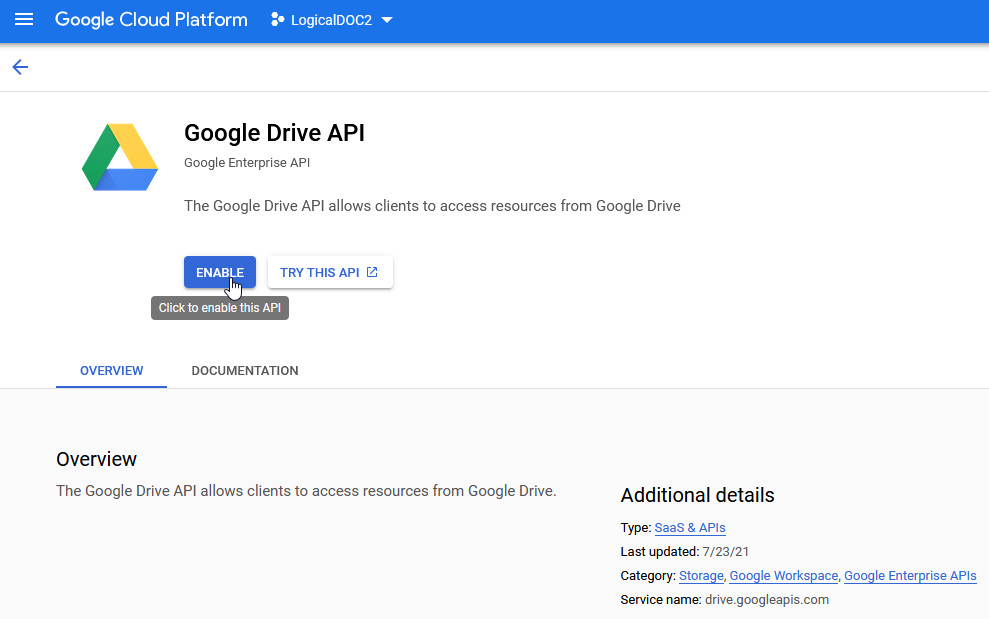
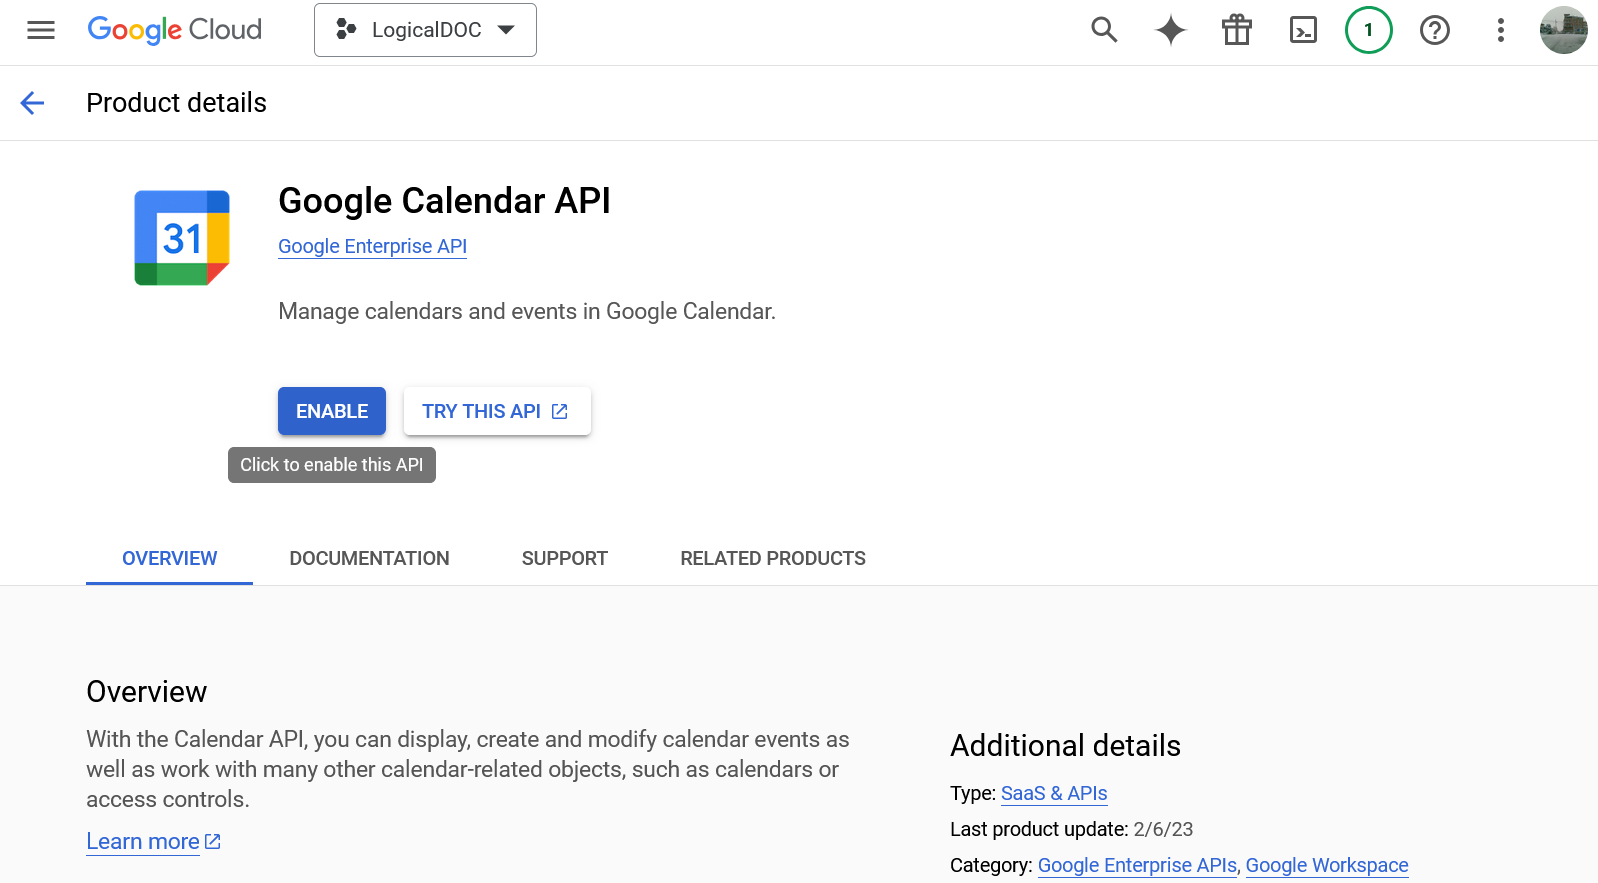
So that they become active services:
3
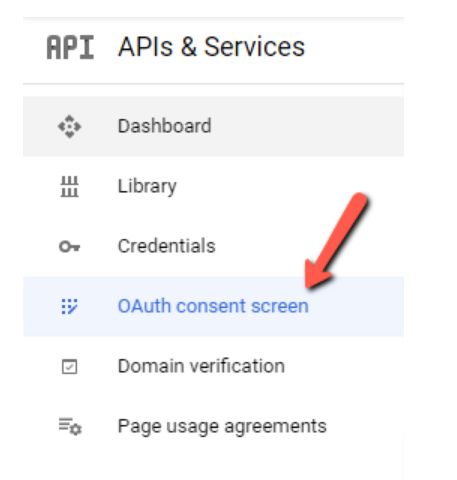
Set up the consent screen
You have to enter in OAuth consent screen section at this point.
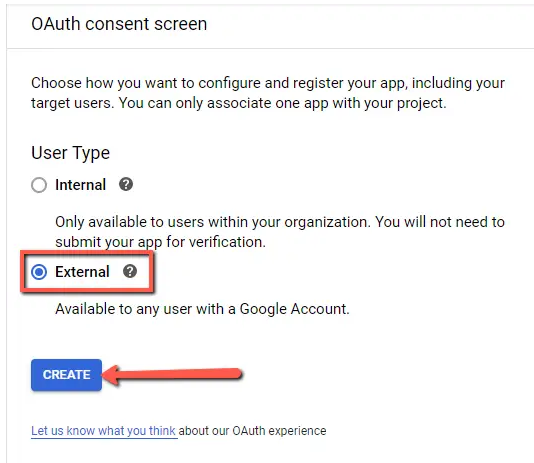
This is where you will have to enter the authorized domains (one or more). You will have to create and register an app. Therefore, choose the External user type here, and click on Create:
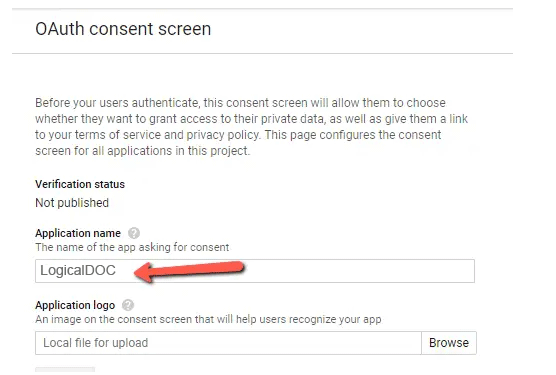
Then, you will need to enter the app details, such as name, logo, etc., as well as the authorized domains. Enter "LogicalDOC" in this field:
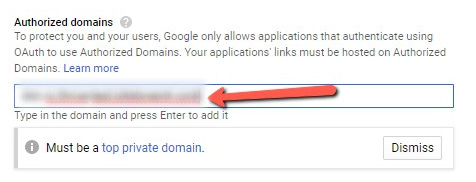
Next, enter your site’s domain in the Authorized Domains field:
You can also add links to your homepage, or to the Privacy Policy/Terms of Service pages, and then click on Save and continue:

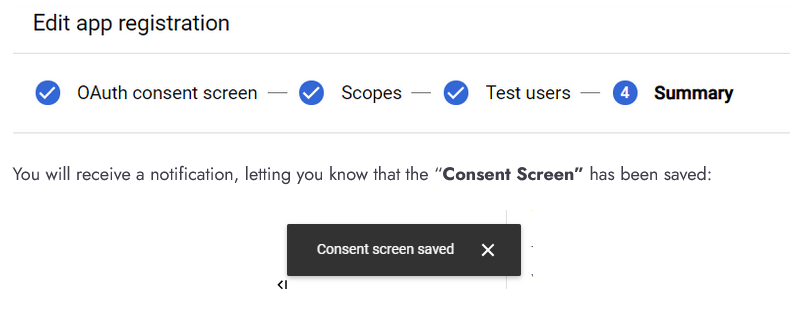
Then, you will be taken through three more steps (Scopes, Test Users and Summary), and then the app will be ready for use:
At the beginning of the project is in the Test phase and only the users you specified as Test users can connect, you may put up to 100 users. Later, you may ask the Google team to start the Verification phase in order to enable the project for everybody.
4
Generate OAuth Credentials
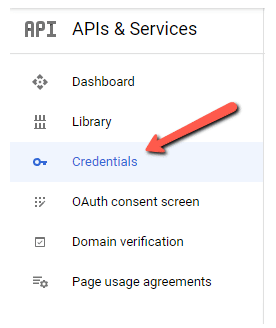
Once the OAuth consent screen has been configured, you need to generate the keys, which we will use in LogicalDOC. Go to the Credentials section of the left sidebar of the Google API Dashboard:
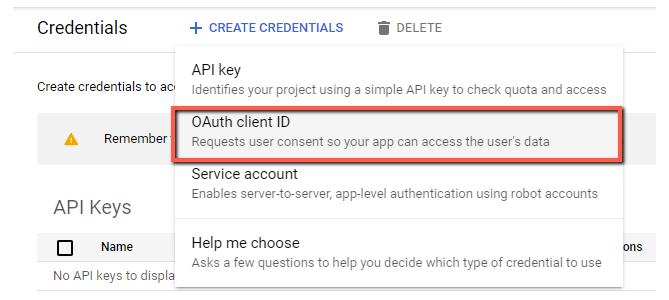
From the top side of the page, click on Create Credentials:

A dropdown will appear. Here, choose the OAuth client ID option:
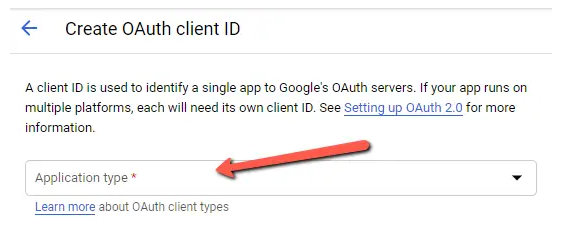
In the next field that appears, you have to choose the application type. Click on this field to open the list of available types:
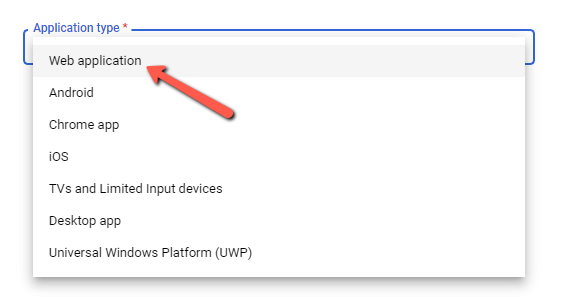
From this list, choose Web Application:
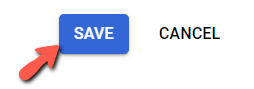
What’s important here, is to set the Authorized redirect URIs. For each of them, click on +Add URI put the URL of your LogicalDOC followed by the /goauthcallback suffix (e.g. https://dms.acme.com/goauthcallback) you can put several URLs here if you reach LogicalDOC in different ways:

Click on Save:
As you do that, a pop-up will open, with the Client ID and Client Secret keys:
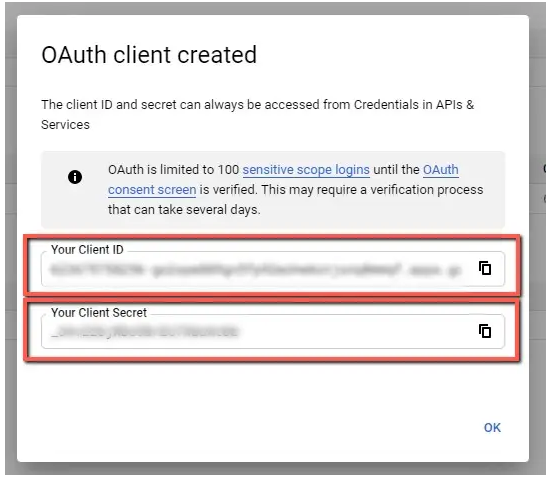
These are the keys that you need to use in LogicalDOC.
5
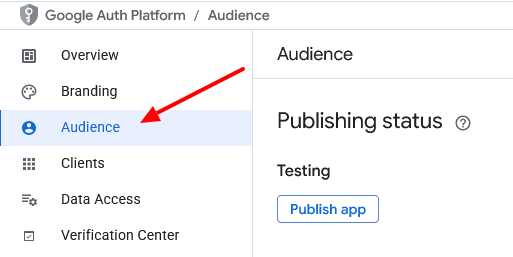
Audience - Add Users
To avoid publishing the application, you can keep it in testing mode.
Select Audience in the sidebar:
In this mode, you can add specific users who are allowed to connect through OAuth.
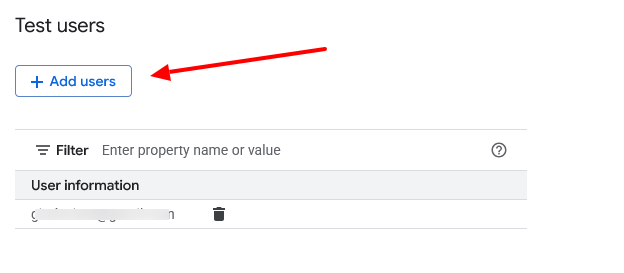
Only the users you specify will be able to authorize LogicalDOC to access Gmail; all others will be blocked.
6
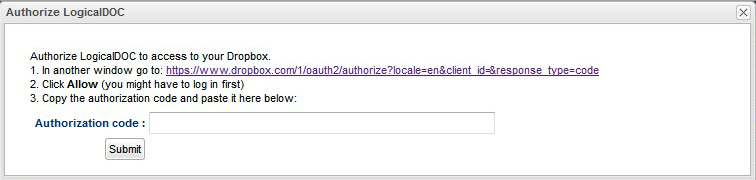
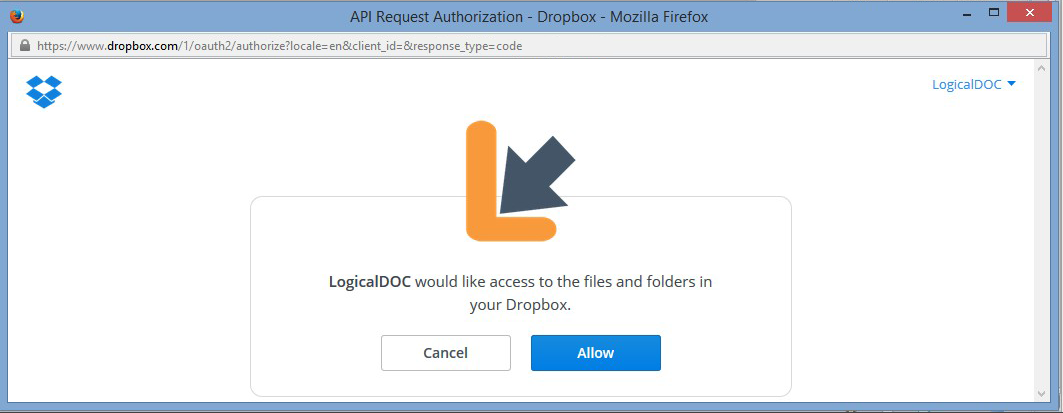
Go back to LogicalDOC and enter the credentials
To connect the Google Calendar, click on Dashboard > Calendar > Authorize
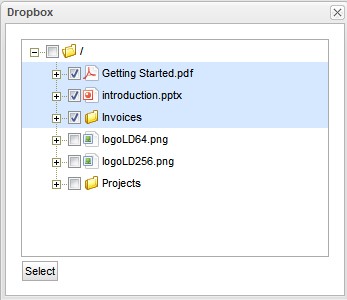
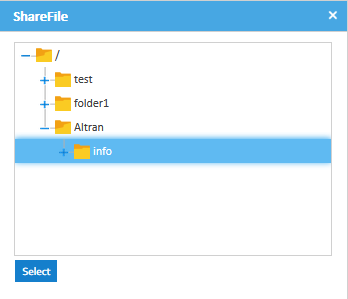
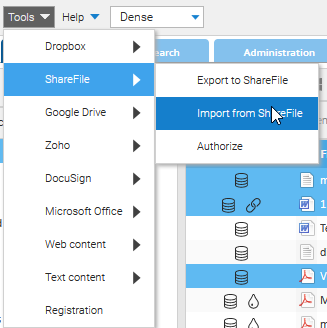
To connect the Google Drive, select a document and then open the menu Tools > Google Drive > Authorize
To connect the Google SMTP service, go to Administration > Settings > Outgoing Email and here switch the protocol Google SMTP protocol, then click on the item Click here to authorize in Google
To connect a Gmail IMAP/POP3 mailbox, go to Administration > Import and Export > Email Accounts and here create a new email account using the right Google protocol then click on the item Click here to authorize in Google
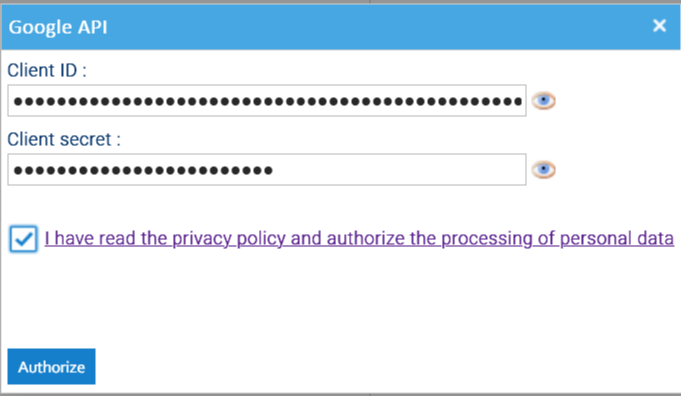
Then press on Authorize and you’re done.